What Causes a Blurry Photo and How To Avoid These Problems
by
Kevin Landwer-Johan
Blurry pictures are a common problem, but not difficult to fix when you know what causes a blurry photo. It’s important to understand the causes because it’s not possible to effectively fix blurry photos.
The main causes of blurry pictures are:
- Poor focusing
- Slow shutter speeds
- Dirty, damaged, low quality lenses
- Extremely high ISO settings
- Digital zoom
Each of these problems is easy to avoid when you’re aware that they are causing you problems with blur. Alternatively, you can embrace the blur and make it work as a creative feature of your photography.

Why Are My Photos Blurry?
Your photos are blurry because of one or more of the reasons I’ve listed above. It’s important to know and understand the causes, because you cannot fix blurry photos once you’ve taken them.
Beginner photographers will often take blurry photos. This is because they have not yet learned how to manage their cameras well enough. Knowing your camera well and how to adjust the basic settings helps you avoid blurry pictures.
The most important settings are not hard to learn. When you know what these are and practice using them, you’ll dramatically reduce the number of blurry pictures you take.
How Do You Fix Blurry Pictures?
You cannot fix blurry pictures. The only effective way to make photos sharper is to take them again and avoid the problem that caused the blurring.
No amount of ‘sharpening’ or ‘unsharp masking’ during editing is going to effectively fix a blurry photo. Taking these actions you can slightly sharpen an image that’s a little soft, but you cannot fix a really blurry photo.
It’s common to see photos shared online that people have oversharpened while editing. They look terrible. Even photos that are not blurry get sharpened. These look equally bad.
The process of sharpening while editing affects contrast levels along edges within an image. It does not actually resharpen the image. Although editing software is being developed and will likely perform better in the future.
To be sure that your photos look sharp, it’s best to:
- Focus well
- Ensure there’s enough Depth of Field
- Use a fast enough shutter speed
- Use a tripod when your shutter speed is slow
- Set your ISO as low as practical
- Use clean, good quality lenses
- Don’t use digital zoom

What Causes a Blurry Photo?
Poor focusing and shutter speeds that are too slow are the main two reasons for blurred pictures. Making sure that you focus well and have enough depth of field will remedy most of your blurry photos. Using as fast a shutter speed as is practical will help eliminate other instances your photos are blurry.
Managing Auto Focus
Learning to manage the auto-focus (AF) settings on your camera well is important. You need to do more than just knowing what the AF settings do. You need to be able to choose the right setting for the types of photos you want to take. The best settings to use often depend on what you are taking photos of. You also need to practice until you’re comfortable with capturing your subject so it’s in sharp focus.
The more you practice focusing, the better you’ll get. If you rely totally on the camera to adjust settings, you’ll still take blurry photos. This is because your camera does not know what the main subject of your composition is.

Multi Point Autofocus
Using the multipoint autofocus selection setting, your camera will often pick out your subject and focus on it. But sometimes it will set the focus point on another part of your composition. This can mean your main subject will be blurry.

Single Point Autofocus
Single point autofocus selection is more difficult to get used to and slower to use. At least until you have practiced enough. I much prefer to set my focus point manually. Then I know that I am focusing on the most important part of my composition.
When you practice using this method of setting the focus point, you can get very quick managing it. You’ll find this is a more precise alternative to allowing your camera to choose where to focus using the multipoint autofocus option.
I usually have my AF area mode set to single point and position this on my main subject. Most of the time I set my camera to continuous servo focusing. So when my thumb is on the auto focus button, (I use back-button focusing) my camera keeps my subject in focus. Even if I move or my subject moves, the camera keeps it in focus.
Alternatively, if you use your monitor to compose photos and it has touch screen focus, this is a great way to ensure your main subject is sharp.
Managing Depth of Field
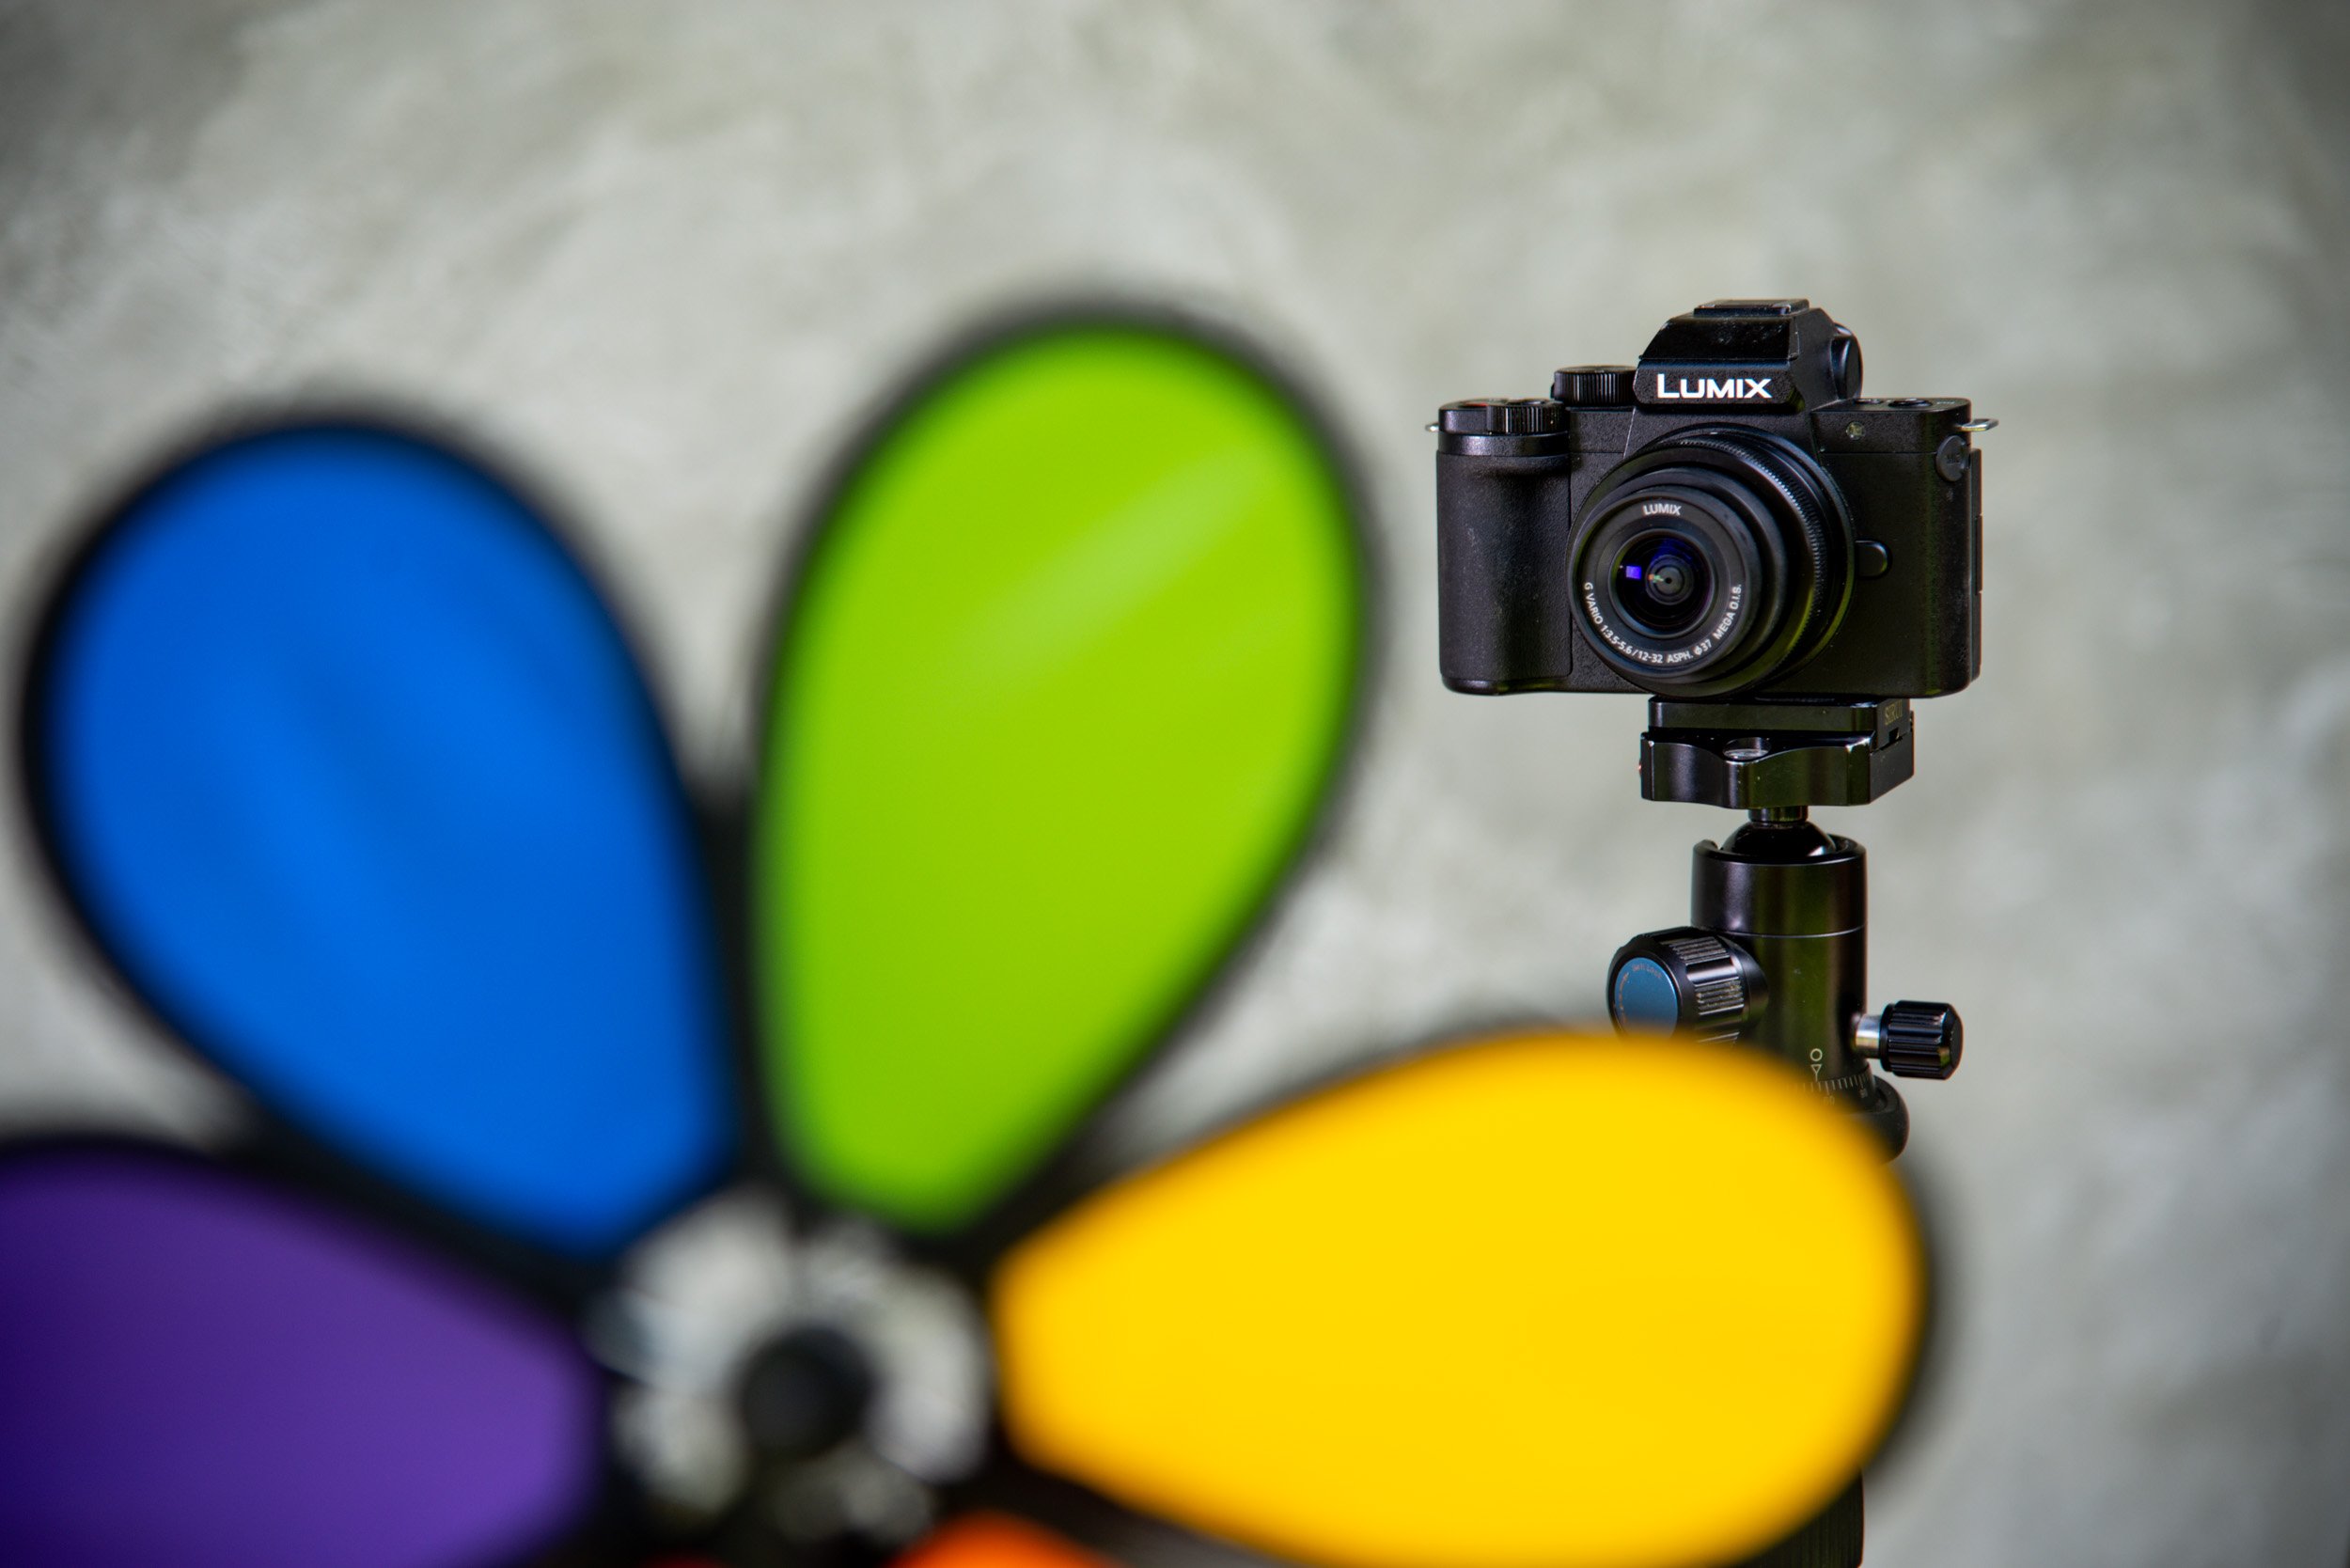
The depth of field in a photo is the amount that is in acceptably sharp focus. As you focus on a point in your composition, everything else that is the same distance away will also be in focus. The aperture setting and other variables govern how much of the photo will be sharp.
A shallow depth of field means much of the photo can be blurry. This is fine when it is intentional. At other times a very shallow depth of field is not suitable. Knowing how to manage your depth of field can help you avoid too much blur in your photos.

The aperture setting is the main way most photographers control the DoF. A wide aperture setting means you have a shallower depth of field. Setting a narrower aperture, a higher f-stop number, means more of your photo appears acceptably sharp.
How close you are to your subject also has an effect on DoF. The closer you are, the less of your photo will be in sharp focus, no matter what your aperture setting is. So, backing away from your subject and using a narrow aperture will create less blur. Being close to your subject and using a wide aperture creates a photo with more blur.
Long focal length lenses also produce a shallower looking DoF. Using a wide lens, more of your photo will appear sharp.

Once you understand how these variables all affect DoF you can manage it. You must decide how much of your composition you want to see in sharp focus. Sometimes a shallow depth of field helps to isolate a subject and make it stand out more. At other times, it’s best to have more of your image in focus so the photo has more impact.

Pro Tip
Aperture settings at either extreme, either very wide or very narrow, can cause photos to look unsharp. Using apertures of around f/8 or f/11 usually produce the sharpest photos from any lens.
With very wide apertures so little of the photo might be in focus, giving it an appearance of having too much blur. Using very narrow apertures causes light to refract in the lens, causing images to appear soft.
Managing Shutter Speed
Using a shutter speed that’s too slow results in blurry photos. How slow is too slow depends on a few factors.
Is your subject moving? If it is, the speed of movement may cause it to appear blurred in a photo. This is called motion blur. The relationship between the speed your subject is moving and your shutter speed determines if the subject is sharp or blurred.
Even when you’re using a fast shutter speed a very fast moving subject can appear blurred. Taking photos of motorsports, you’ll need to set a much faster shutter speed than, say, if you’re photographing a person walking. That’s if you want to freeze your subject so it appears sharp in your photos.
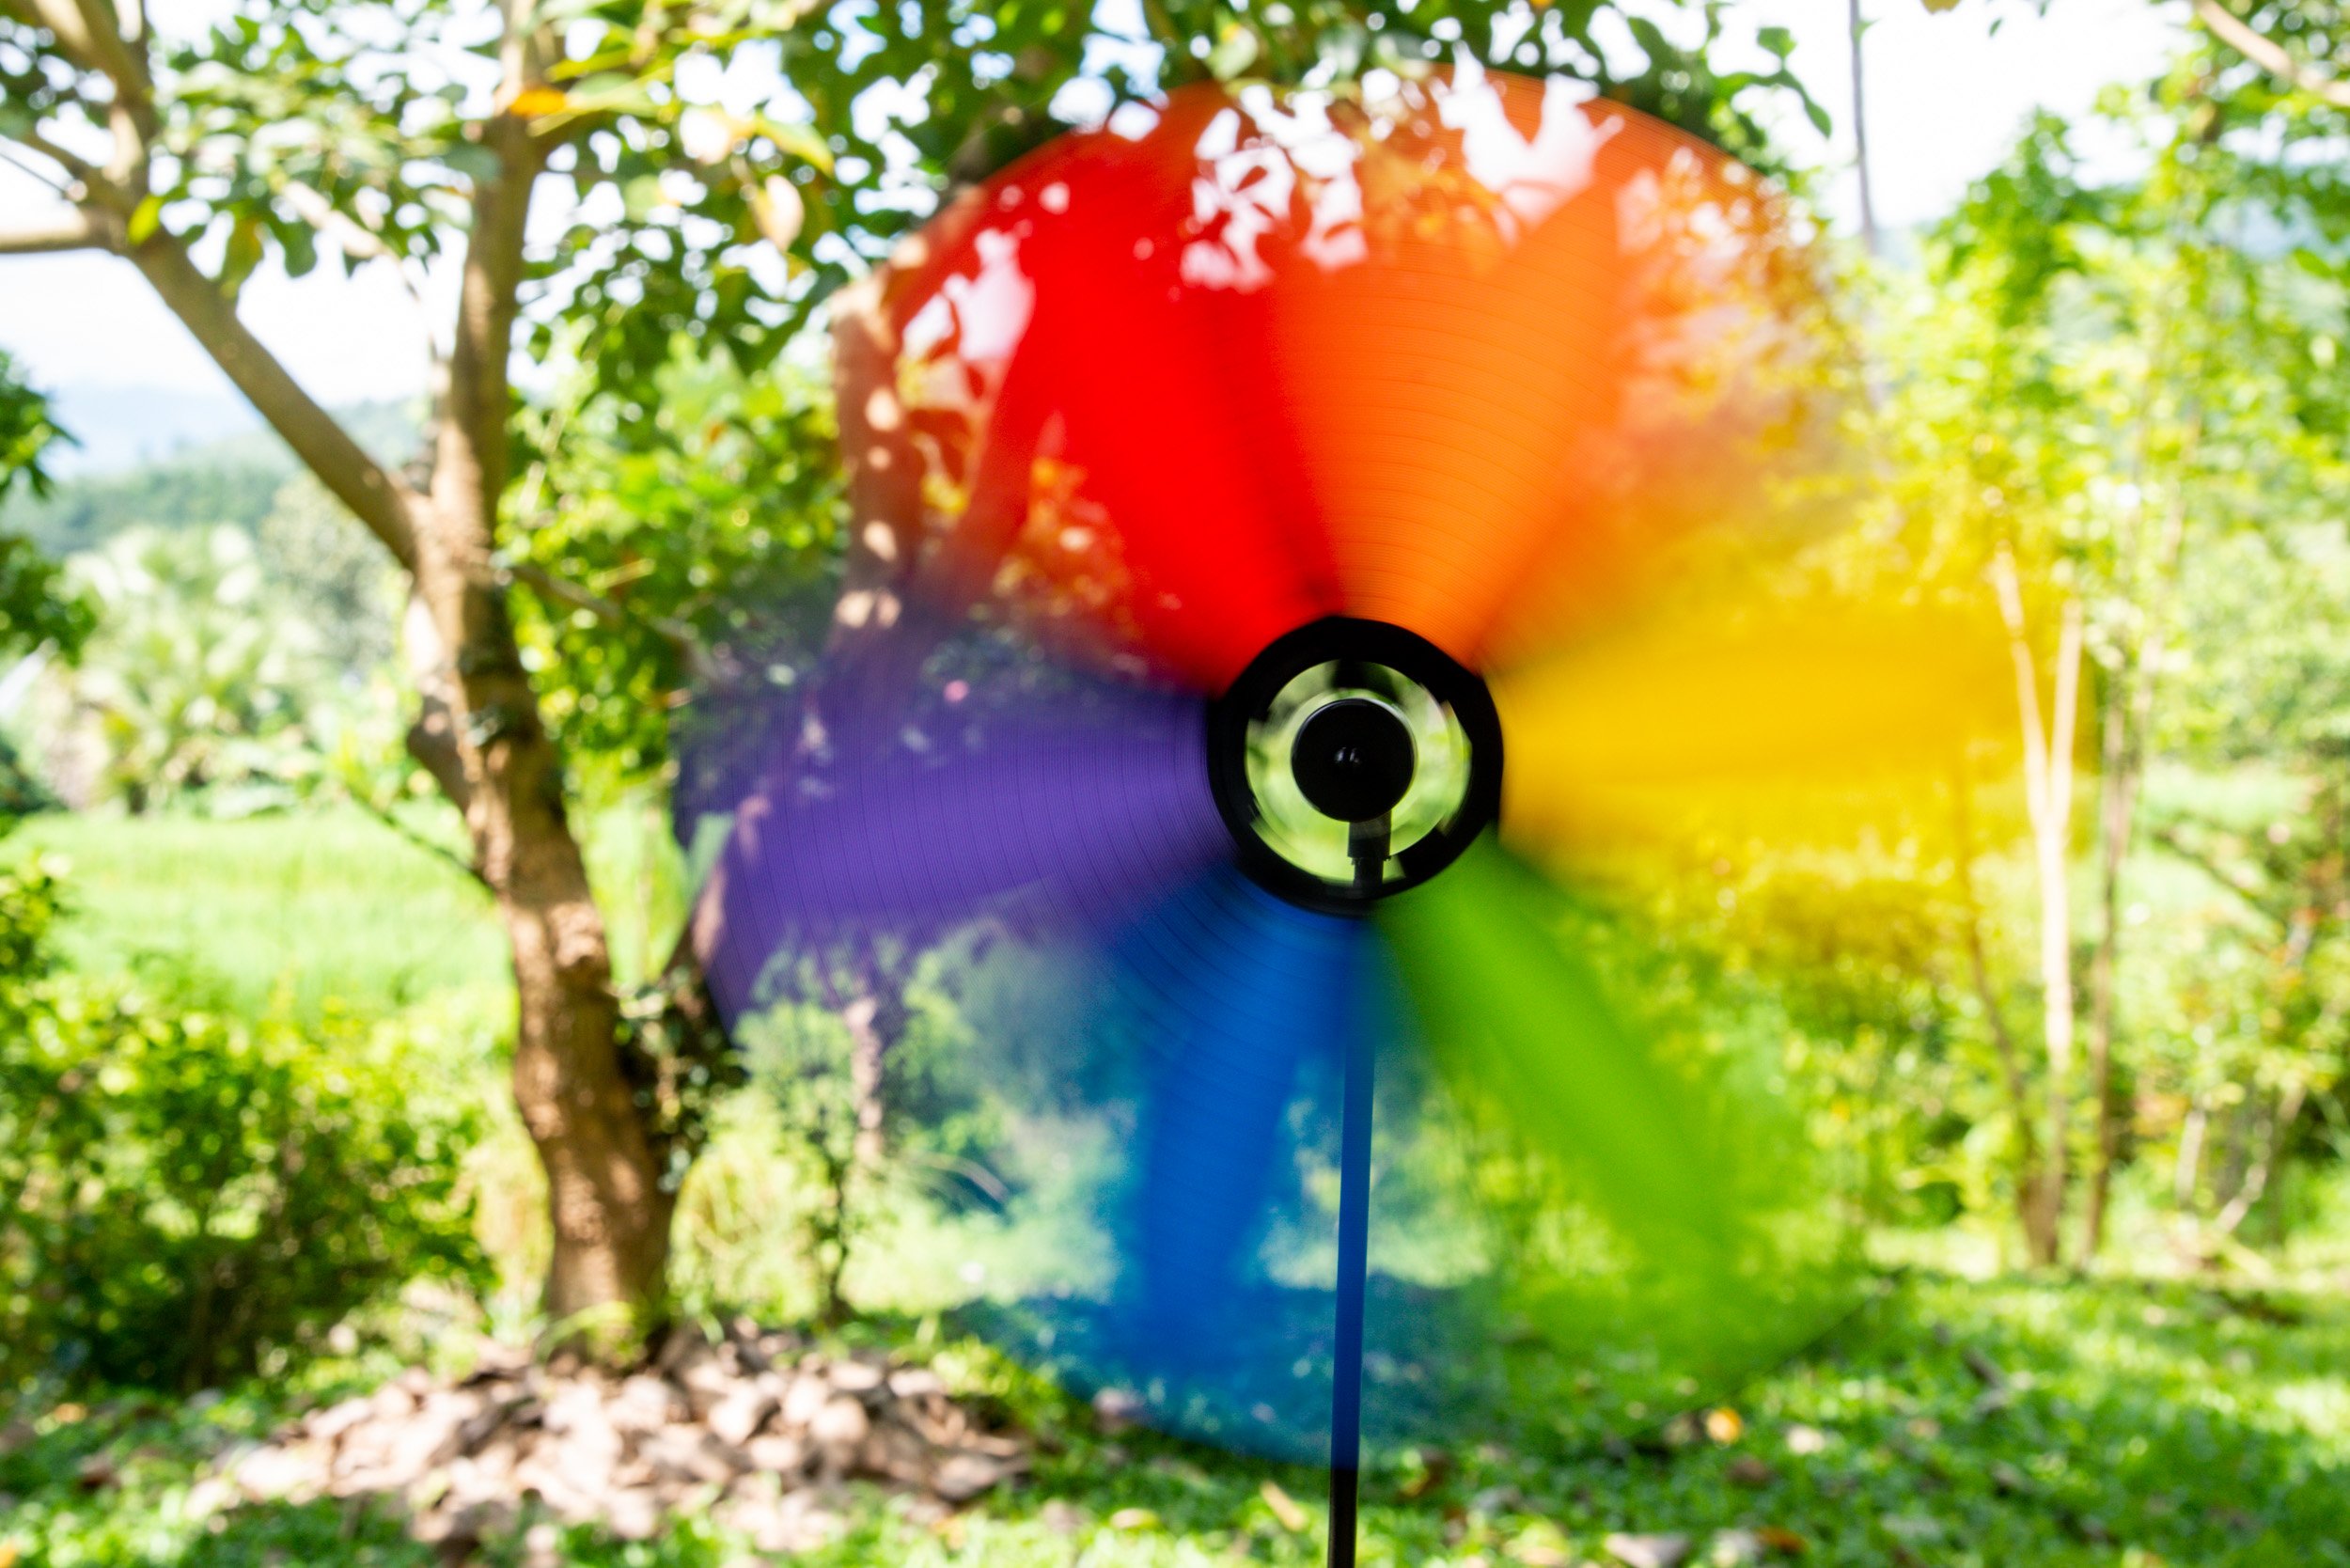

A moving camera can also be the cause of blurring. Hand holding your camera and using a shutter speed that’s too slow can result in what’s known as camera shake blur. If your camera moves even a little while the shutter is open, your whole photo becomes blurry. How slow is too slow depends on how steady your hands are and how good the image stabilization in your camera gear is.
I can safely hand hold my camera at shutter speeds as slow as 1/60th of a second. My main camera has no image stabilization. If I want to use a slower speed I must mount my camera on a tripod or place it on a firm surface to avoid camera shake blur.
Cameras and lenses that have good image stabilization make it possible to use slower shutter speeds while hand holding.
There’s a difference in how blur looks between motion blur of a moving subject and camera shake blur.

Using a Tripod
Using a tripod will help you take sharper photos. I prefer not to work with a tripod, unless I have to. I like the freedom of movement I have when hand holding my camera. Even when photographing portraits or products, I’d rather not use a tripod if I don’t have to.
Any time your shutter speed is too slow to hand hold and take sharp photos, it’s best to mount your camera on a tripod. Using a tripod when photographing non-moving subjects allows you to:
- use slower shutter speeds,
- narrower apertures,
- and lower ISO settings.
All of these can help you to avoid taking blurry photos.
There’s no alternative to a good, sturdy tripod. You can place your camera on a firm surface when you need to use a slow shutter speed. But this is not nearly as effective as using a tripod. You can adjust a tripod easily and lock your camera in precisely the position you want.
Cheaply constructed tripods are practically useless. The whole job of the pod is to keep your camera steady. So using a flimsy tripod will not help you avoid blurry photos. It’s important to match the weight of your camera and heaviest lens to the tripod you use.
Managing ISO
With high quality modern cameras setting a high ISO is not as risky as it used to be. However, you must be aware of how high you can set the ISO on whatever camera you are using. The amount of digital noise and softening caused by high ISO settings varies from camera to camera.
Extremely high ISO settings will cause an image to blur. The amount of blur will not be so pronounced as the blur caused by bad focusing or slow shutter speeds, but it is worth avoiding. It’s best not to use the highest ISO settings on any camera, if you can avoid doing so.
Digital noise reduction in imaging software is very advanced and effective. But using this type of tool while editing will further soften an image. Aggressive noise reduction can add significant blurring to photos.
Keeping Your Lenses Clean
Dirt and grime on camera lenses cause blurry photos. Even a small speck of dust on a lens can make part of a photo blurry. This is not always clear to see when you’re taking a photo, but you’ll notice it when editing.
Always check the front and rare elements of your lens to make sure they are clean. A gentle wipe with a lint free cloth can remove most dirt and grime. This is an easy thing to overlook, but it should be a common habit.
Don’t Use Digital Zoom
Digital zoom is a feature used in lower end cameras and smartphones. This is not a true zoom, but instead crops and enlarges the central part of an image. This causes the photo to blur. It’s best not to use digital zoom, but rather to enlarge and crop photos during editing for sharper results. This method also produces higher resolution images.
How Do I Make My Photos Sharper?
This is a common question I am asked by students. The best way to make sharper photos is to manage your camera settings well.
- Be careful with focus.
- Manage your depth of field well.
- Use an appropriate shutter speed or mount your camera on a tripod.
- Use the lowest ISO setting practical.
- Keep your lenses clean and in good condition.
- Don’t use digital zoom.
The highest quality camera equipment produces the sharpest photos. Large image sensors produce high resolution images. These look sharper than low resolution photos. The best quality lenses are generally able to produce sharper images than cheaper lenses. Having good quality glass makes a difference.
But no matter how good your camera gear is, you’ll still get blurry photos if you are not using it well.
I once photographed a super yacht being launched. I was working on a project documenting the boat’s construction. At the launch the owner, who was a keen photographer, told me he’d given his Leica camera to a friend to use. Later he informed me that all the photos his friend took were blurry because he was not used to using a camera. Most of my photos, taken on a much less expensive camera, were sharp.
It pays to know your camera gear and how to use it well. Practice with it often. Doing this you’ll find what causes a blurry photo does not affect you nearly so much.
Further Reading
If you’ve enjoyed reading this article you will also enjoy “What Makes A Good Photograph?” and “How To Overcome Unwanted Motion Blur in Your Photos”
