How To Master Manual Mode on Every Camera
by
Kevin Landwer-Johan
Manual mode photography is challenging for many photographers. Using any camera on the auto settings is easier. But easy is rarely the most creative option. You can master manual mode on every camera with a little study and some dedicated practice.
Relying on the camera to set your exposure will not always produce the most interesting photographs. Here are some helpful photography tips and resources to get you started on mastering manual mode on whatever camera you use.
Here’s a list of what’s covered in this article:
- Change Your Mindset
- Understand why manual mode is the best option
- Decide between manual or auto
- Make the best exposure choices
- Master using your camera’s exposure meter
- Have creative intent for your photos
- Making the Most of a Master’s Teaching
Take your time to learn how to use your camera on manual mode. Use the resources and tips here to help build your skills. Practice frequently and you’ll discover it’s not so difficult to master using manual mode as you may think.
1. Change Your Mindset
Think about how much more creative you can become by learning to use your camera in manual mode. Push out of your mind negative thoughts that discourage you from learning something new. Mastering manual mode on any camera is not as difficult as you might think.
Concentrate and be committed. You will discover a whole new world of opportunity to create more interesting photographs.
Here’s a short video I produced to encourage you and explain why it is not so hard to learn manual mode.
2. Understand Why Manual Mode is the Best Option
You may have guessed by now, I am an incurable manual mode addict. I really do believe that learning to use manual mode will make you a better photographer.
When I started in photography I had no option but to learn manual mode. My Nikkormat camera had no auto settings, for exposure or for anything else. Modern digital cameras have made photography easier, but easy is not always better.
Using manual mode allows you to be in full control of your exposure and how your photos look. You are not confined by the algorithms programmed into your camera that manage the auto exposure settings.
To learn more about why I think manual mode is the best option, please read this article.
3. Decide Between Manual or Auto
Photography is all about light. With no light, you cannot take a photo. The quality of light contributes greatly to your photos. Exposing the light well, no matter how much or how little there is, is crucial to taking good photos.
Your camera is programmed in a certain way to make auto exposures. But your camera never really knows what you are pointing it as or what the quality of the light is like. The camera decides what to set your shutter speed and aperture and ISO to depending on which mode you use. It makes the setting based on a pre-programmed algorithm.
Using manual mode requires you to make these choices. You are not locked into the camera manufactures idea of what’s best.
Sometimes a good exposure may not be technically correct. You may want the highlights in your composition underexposed a little so the shadows render as black. Being in control of the exposure will mean you have more opportunity to be truly creative.
Learn more about how auto and manual exposure work here.
4. Make the Best Exposure Choices
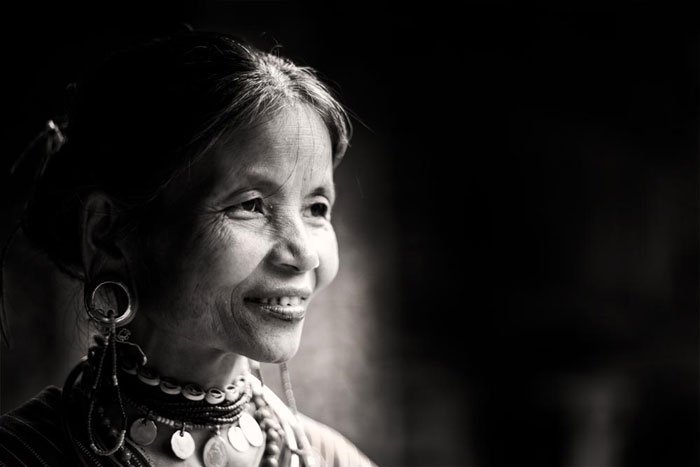
What we see with our eyes and the way our cameras record this can be very different.
Your camera has less ability to record tone range than you can see with your eyes. Learning how to see as your camera sees will help you understand the importance of learning to master manual mode.
Being in control of the exposure settings on your camera you can capture photos that are similar to how you see. Or you can make them look much different. This is more likely when the light is hard and contrast is high.
Knowing how to effectively use your camera’s exposure meter is important in creating the exposures you want. There is one other method that is simple to learn, especially for beginner photographers. Click here to read the easy step by step process of how to use manual mode.
5. Master Using Your Camera’s Exposure Meter
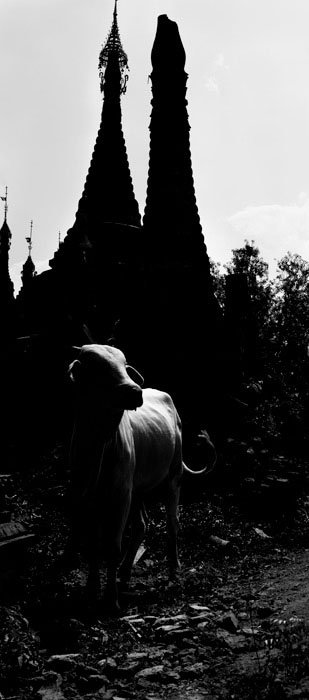
Your camera has a built-in exposure meter. Sometimes it’s called a light meter. It provides you with information to guide your choice of exposure settings when you are using manual mode. If you always use an auto mode you may not know that it even exists because it functions without you needing to see it.
The job of an exposure meter is to translate light values into digital information. Each camera has a different method of displaying the values of the exposure meter.
Modern exposure meters in cameras have three or more modes to assist you in choosing your exposure. To learn more about them, please check out this article.
6. Have Creative Intent For Your Photos
Once you’re familiar with how your camera makes an exposure, it’s time to go beyond making mere recordings of what’s in front of you. You need to engage the right hemisphere of your brain. This is where your creative thinking happens.
All art is subjective. Photographers seek to show how they see the world around them. It is different for all of us. This is where your creative intent comes into play so you can take more powerful photos. Technically correct photographs, without artistic expression, are often boring.
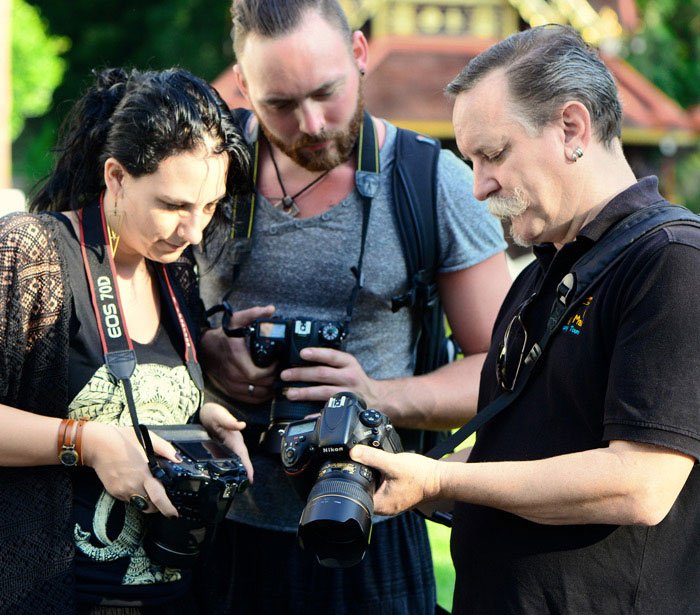
Here I am concentrated on light and exposure. These are not the only creative aspects of photography, but they are certainly some of the most important ones.
Here’s another article I’ve written that explores these ideas in greater depth.
7. Making the Most of a Master’s Teaching
Many years ago, Ansel Adams, a master of American landscape photography, developed the Zone System with his friend Fred Archer.
Gaining some understanding of how it works will help you make better exposure choices. The Zone System divides tone values between black and white into 9 zones. Roman numerals designate the value of each zone, (except black. 0 is not a Roman numeral.) Black is 0 and white is X . Middle gray, the value exposure meters are calibrated to ‘see’ is zone V. Between each zone, there is one photographic ‘stop’ difference.
This may seem over-complicated. If you follow through and learn to understand it, you’ll be more adept at making well-exposed photographs.
To learn more about the Zone System, start by reading this article.
Master Your Camera – Master Your Creativity
The essential functions of the camera have not really changed since their invention. Enough light must enter the lens to create a well-exposed image. The amount of light that enters is governed by the aperture and the shutter speed. ISO settings on digital cameras can be altered to assist you in capturing the best amount of light.
Learn how to do this well, and you’ll be a better photographer.
Check out my online course, Master Your Camera – Master Your Creativity. This course teaches you in-depth instruction that’s clearly presented and easy to understand. You no longer need to be overwhelmed by the thought the using manual mode is too difficult and you’ll be hindered by working more slowly.
Further Reading
If you’ve enjoyed reading this post you will also enjoy
