How to Take Better Environmental Portraits:
17 Tips
17 Tips

by
Kevin Landwer-Johan
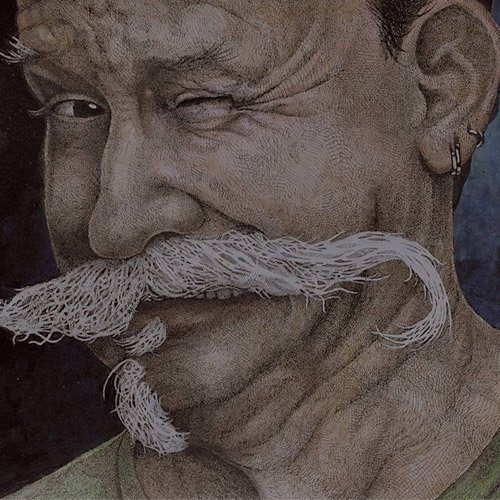
To take better environmental portraits you must focus on the style of image you want. A good environmental portrait is a photograph of a person that connects them with their natural surroundings. The photo will provide more of a story about the person than a formal portrait would.
A portrait of a person in their natural environment adds depth to both them and the location. Environmental portraits are often used in newspaper and magazine stories. Either in print or online. They are also often used in corporate reports, business and educational websites, and many other purposes.
In any genre of photography that includes people, photographers create environmental portraits. Street photographers and sports photographers do. Travel photographs are always more interesting when they include environmental portraits. Photos of sportspeople and artists tell a deeper story when they are in their natural environment. When I worked as a photojournalist environmental portraits made up a significant portion of the images I produced.
Interesting environmental portraits must tell a story. There are certain elements you’ll want to include in them. Making great environmental portraits requires paying attention to every aspect of picture taking. You cannot afford to be solely focused on getting your camera settings right.
Have a clear idea about the photographs you will make. Connect well with your subject. These two things are vital to environmental portraiture.
In some situations, you’ll have more time than in others. Make the most of whatever time you have available. You might come across an interesting person for a spontaneous travel portrait. Or plan and arrange a portrait session with someone ahead of time. Either way, be confident and communicate well and you’ll create some fabulous pictures.
If you’re enjoying this article you may also be interested in downloading the pdf version. It includes practical exercises for each of the 17 tips and more example photos. You can find it to download here:
Environmental Portraits PDF Download
17 Tips on How to Take Better Environmental Portraits
Some of these tips are arguably more important than others. But the better you can integrate each of them naturally into your workflow, the better environmental portraits you will take. They are in no particular order.
Tip #1: Aim To Tell A Specific Story with Your Environmental Portrait
When you are learning how to take better environmental portraits you might concentrate more on camera gear and settings. It’s important to manage these aspects of photography well. But you also need to keep in mind the story you want your environmental portraits to tell.
Your subject and the location must work together to express the narrative. What will your portrait say about the subject? How will the location, props, and poses speak to viewers who see your images?
Think about these questions before you start your portrait session. Doing so provides you with a good foundation to build on. When you spontaneously discover an environmental portrait opportunity, you may not have much time to act. You’ll need to make some quick decisions about how to tell the story of the person you are photographing.
Tip #2: Know the Significance of the Location and Connect It with Your Subject
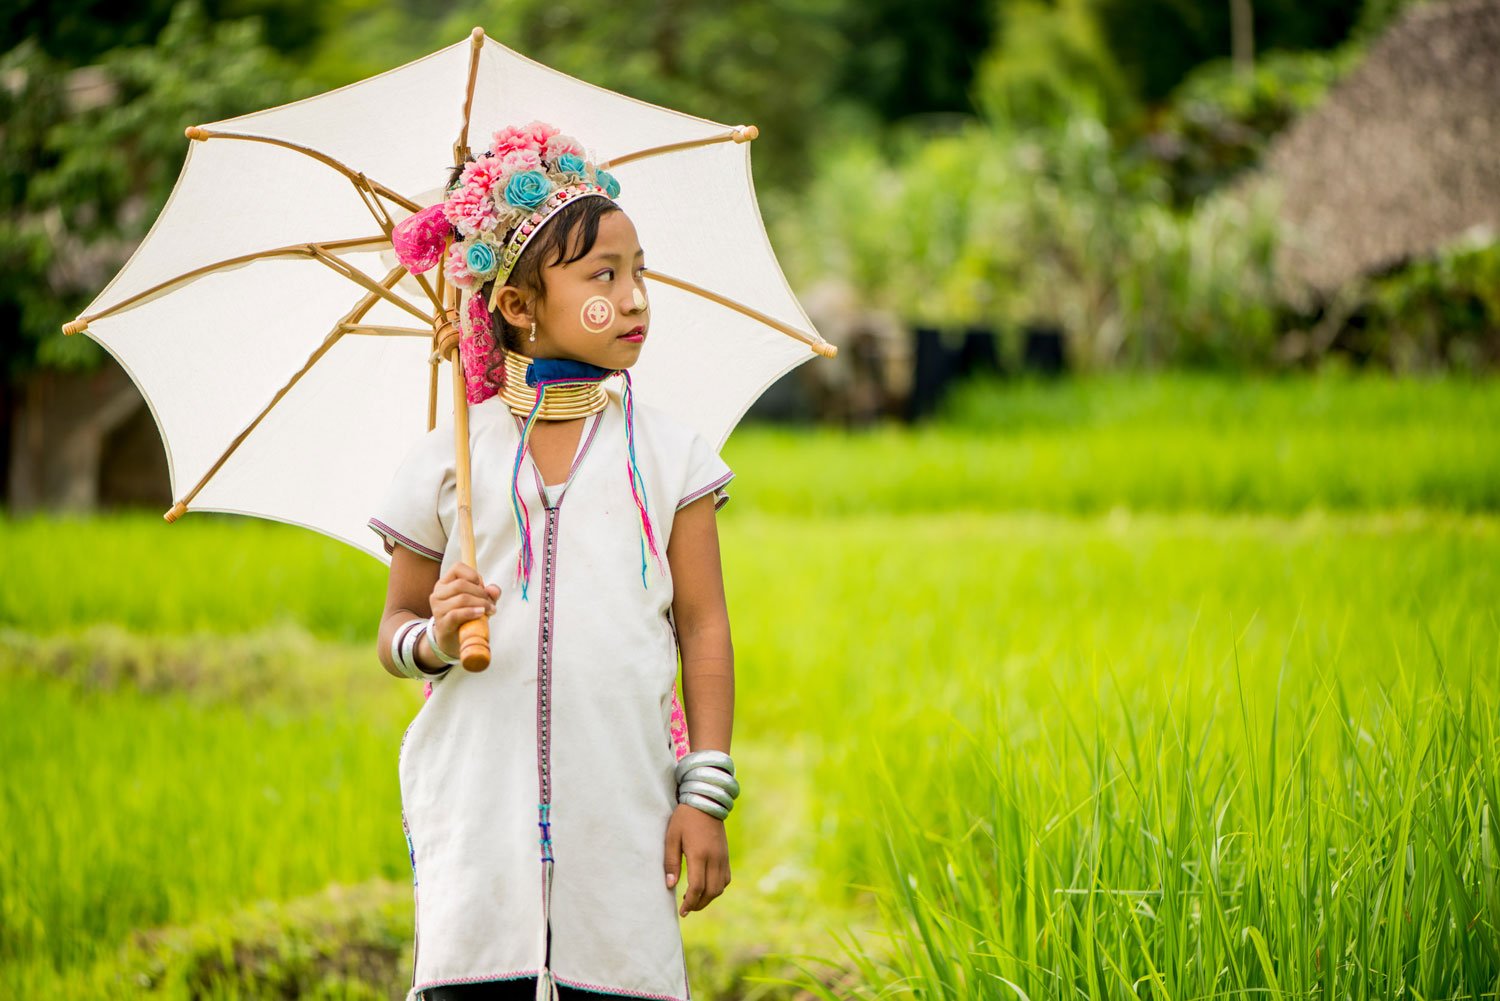
One of the key aspects of environmental portraiture to concentrate on is how your subject connects with the location. This is the fundamental premise of environmental portrait photography.
If the connection between your subject and the location is not clear to me I’ll ask them about it. This way I can learn about some aspects of why the place is meaningful to them. Asking questions helps me to compose the portrait in a more meaningful way.
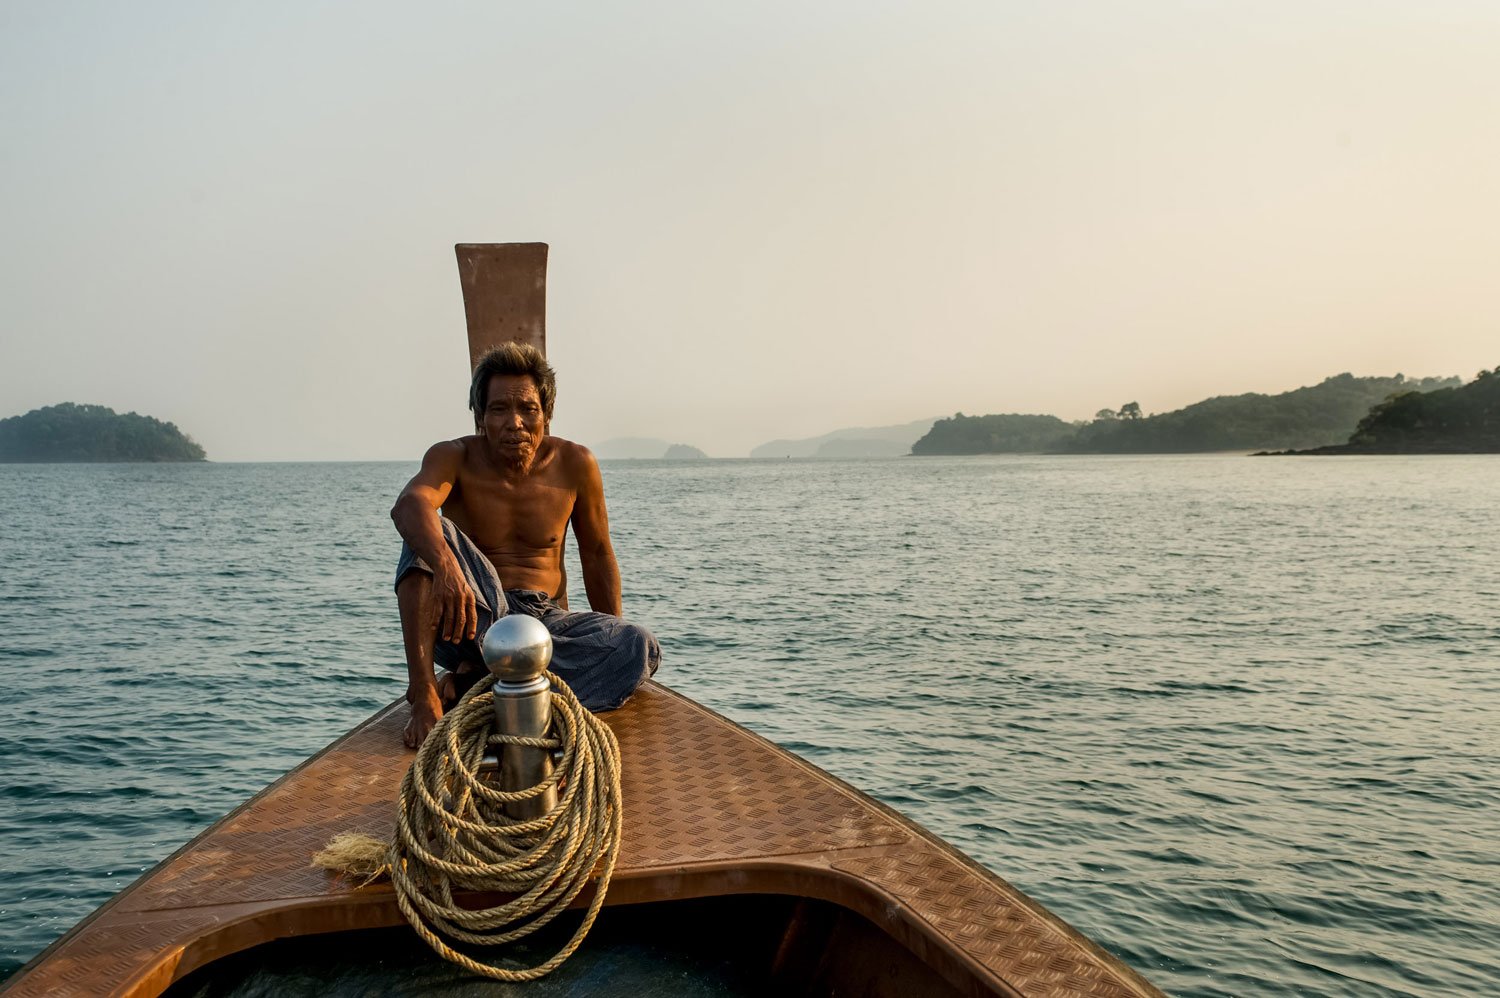
At times, the location—subject relationship may not be immediately apparent. How you compose your portrait photographs should tie the location and subject together. How subtle or obvious the relationship is depends on how you arrange the person in the composition.
The lens you choose influences the composition and how the person appears in it. Using a longer focal length lens frames a subject with less of the background in view. A wider angle lens shows more of the location, making it more obvious how the person connects with it.

Tip #3: Be Friendly and Relaxed
Take your time when you are making environmental portraits. Take your time when you are engaging in any form of photography.
If you’re in a rush, you are more likely to make mistakes. You are not going to take the best photographs. I constantly have to remind myself of this.
People reflect back to you how they perceive you. If you’re flustered and fussing, your subject may feel uncomfortable. This will show in their expression and not make a good photograph.
Be aware of your emotions, thoughts, and actions. Being friendly and relaxed as you prepare and are taking the portraits helps people relax. This may be more difficult if you are a shy photographer. You will capture more natural photographs.

Tip #4: Engage with the Person Whose Portrait You are Making
I like to take time to chat with the person I am photographing. I’ll ask questions about what they are doing. My aim is to learn more about them and how they relate to their environment.
People generally appreciate your interest in who they are. Showing interest in your subject will help them relax and enjoy the portrait session more.
Tip #5: Be Empathetic – Immerse Yourself in Their World
Be aware of how your subject is feeling about having their photograph taken. Some people will enjoy it more than others. Shy people can be quite uncomfortable being photographed. You need to make an effort to help them relax. The more they are enjoying the experience, the better portraits you will be able to make.
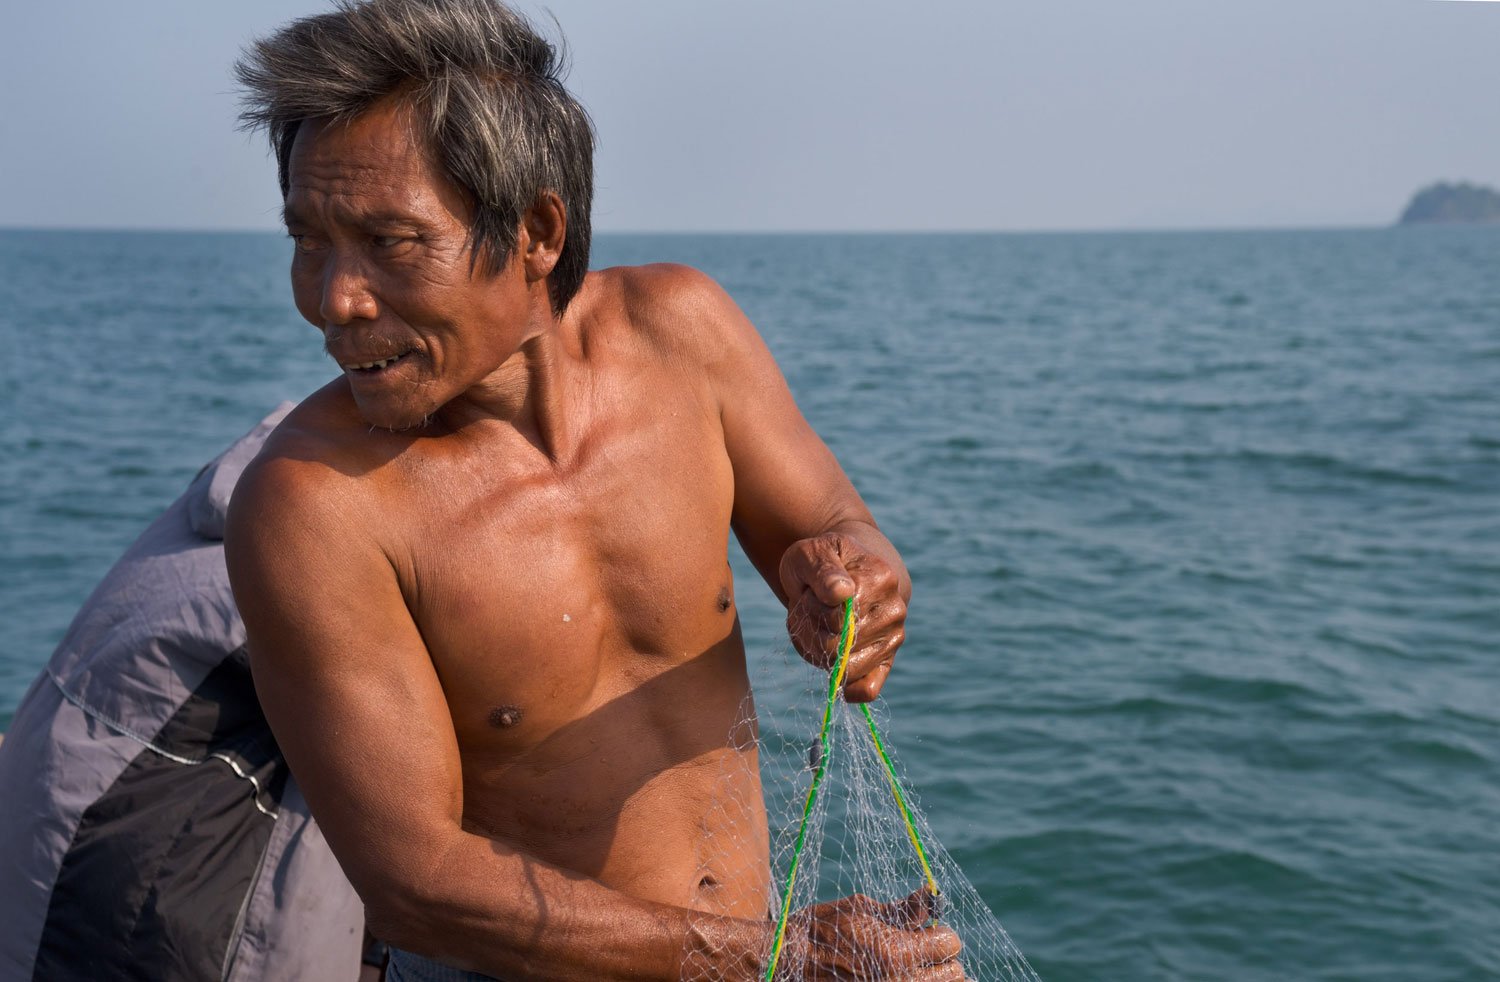
Tip #6: Make Good Use of Props in Environmental Portraits
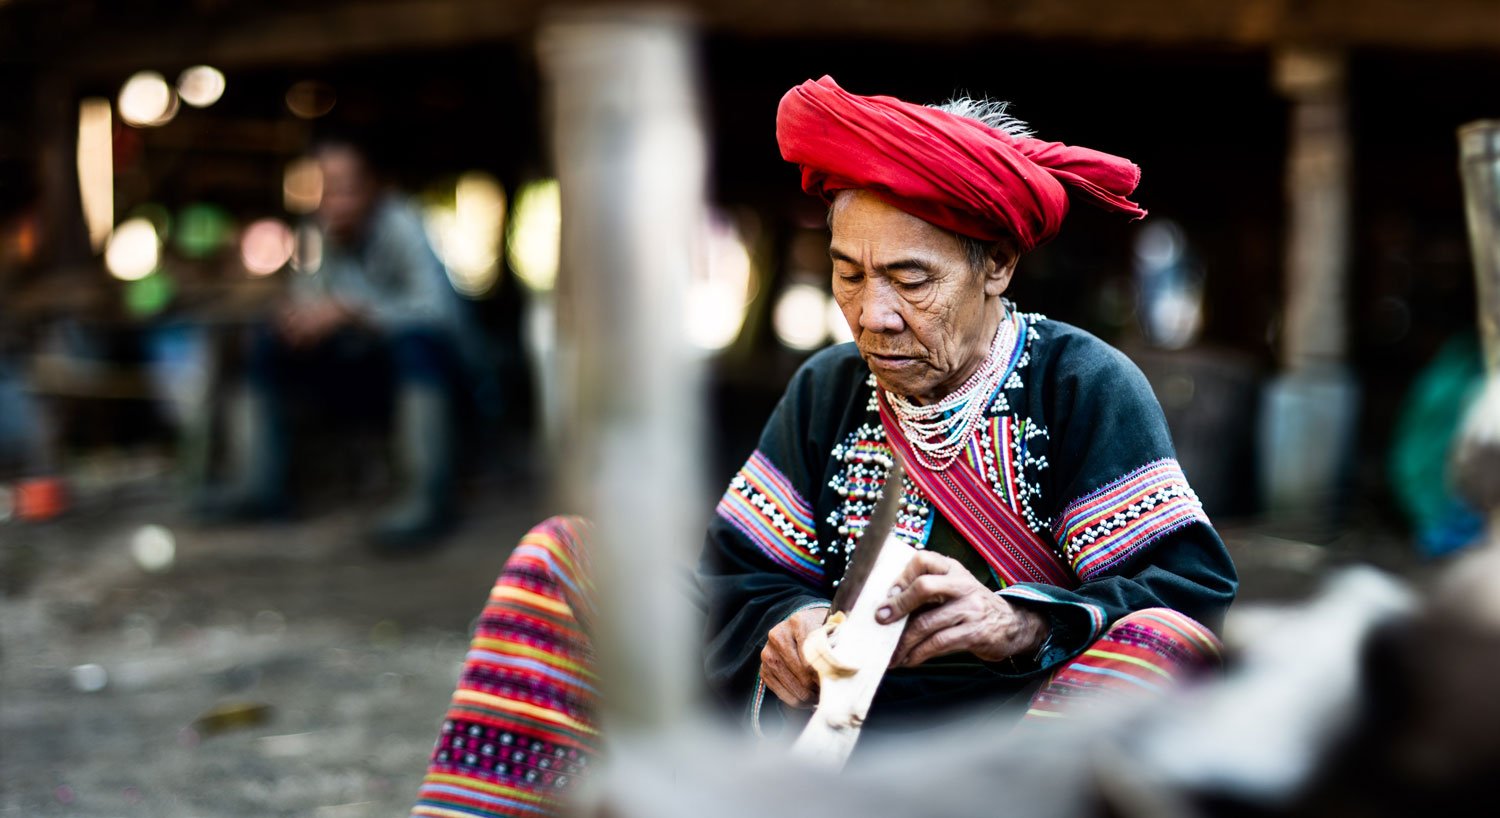
Using props can help you make better environmental portraits. A photo of a person holding an item that helps tell their story builds interest. You might get a sportsperson to hold their ball, bat, or racket. An environmental portrait of a carpenter can include a hammer or saw.
Props can add significance to a portrait that would otherwise be missing or incomplete. A good location may not be enough to provide sufficient meaning. A well-used prop helps build a good narrative in environmental portrait photography.
Props can also help distract people from you and your camera. This is particularly helpful when your subject is a little uncomfortable. Having them hold a prop and engage with it will help them to look more natural.
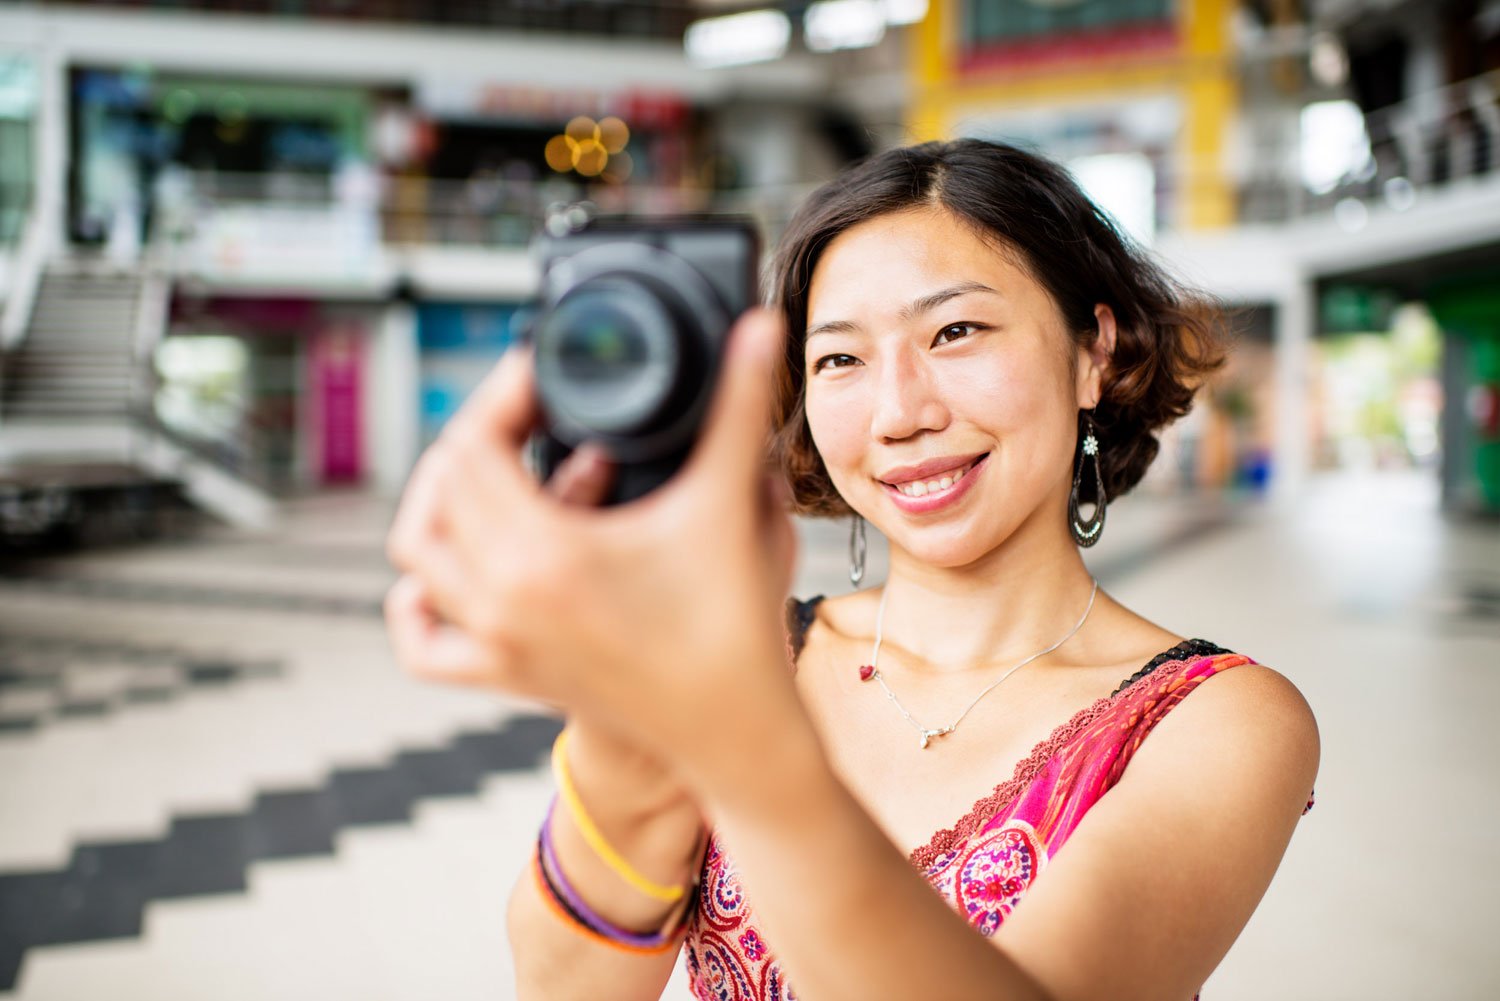
Tip#7: Have Your Subject Looking at the Camera and Away from Your Camera
The person you’re photographing does not always need to be looking at the camera. If they are interacting with a prop, they can focus on this. Or you can direct them to look in a particular direction. Doing this makes for more natural-looking environmental portraits.
I will often look around for an object in the direction I want a person to look and ask them to look at that thing. This clearly communicates where I want them to look. I’ll even suggest for them to think about something specific that I think will stimulate the type of expression I want.
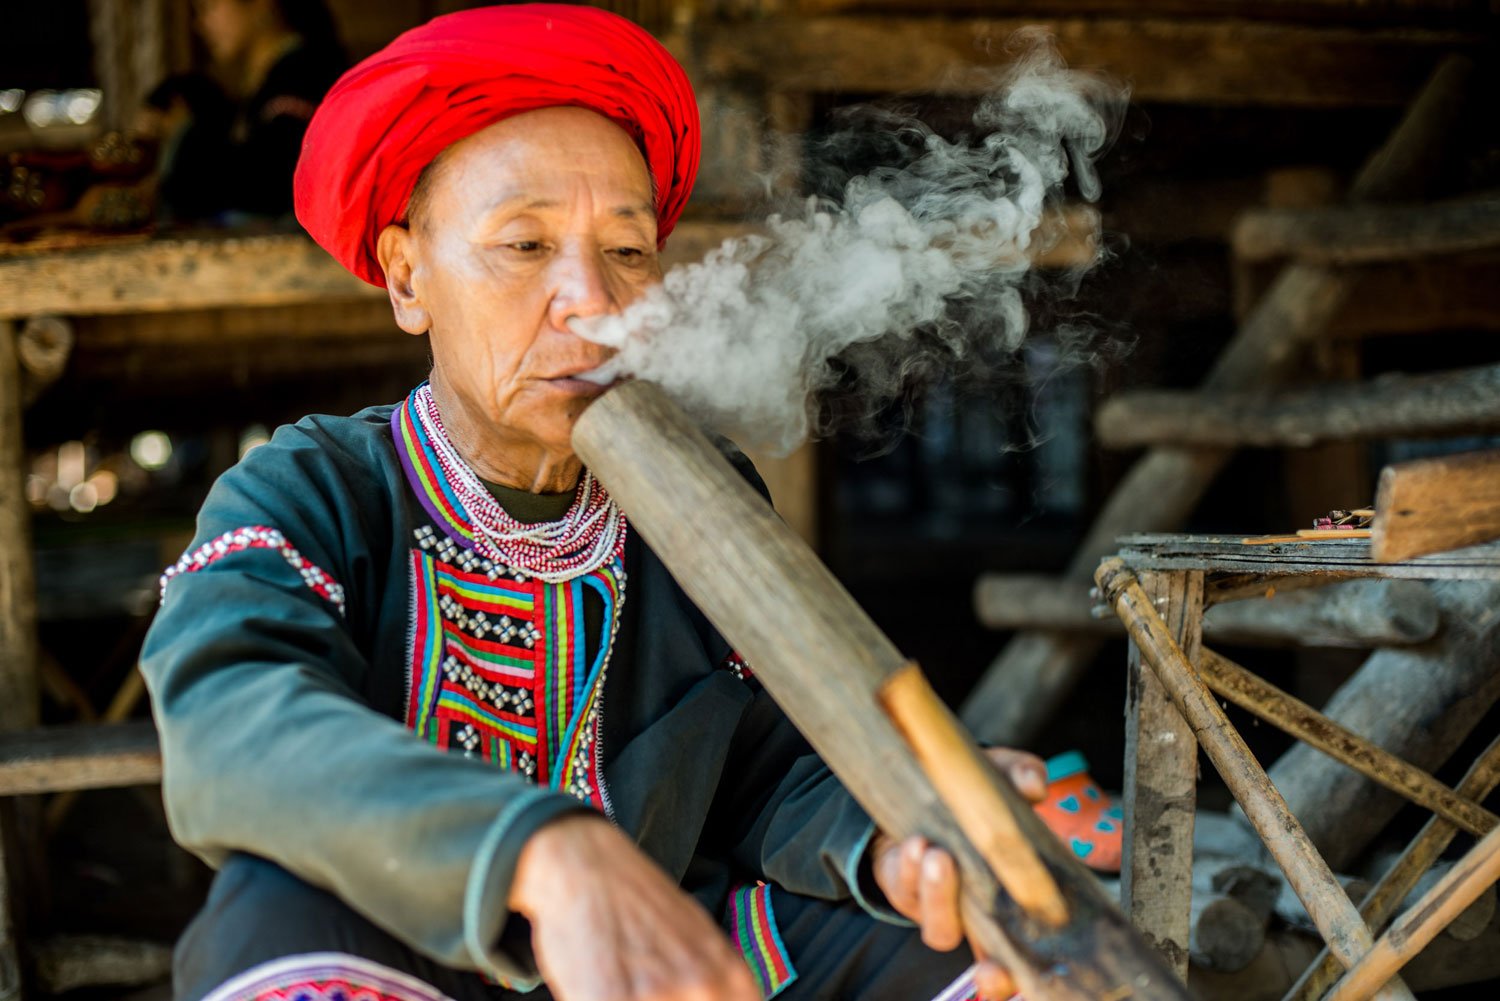
Tip #8: Be As Well Prepared as You Can Be
Before you engage with your subject, make sure you are ready. You need to pay as much attention to your subject and the location as possible. If you are thinking about other things, like what you may have forgotten to bring, it’s easy to make mistakes or miscommunicate.
For pre-planned environmental portraits, you can be well prepared. Have in mind a few interesting ideas to work with. If you know the person and the location, this will be easier.
Look for ideas online. Do a search for related subjects and locations. Look for inspiration from the photos you can find. Spend time looking at photos your favorite portrait photographers have made. These are sure to provide you with good ideas for how to pose your subject.
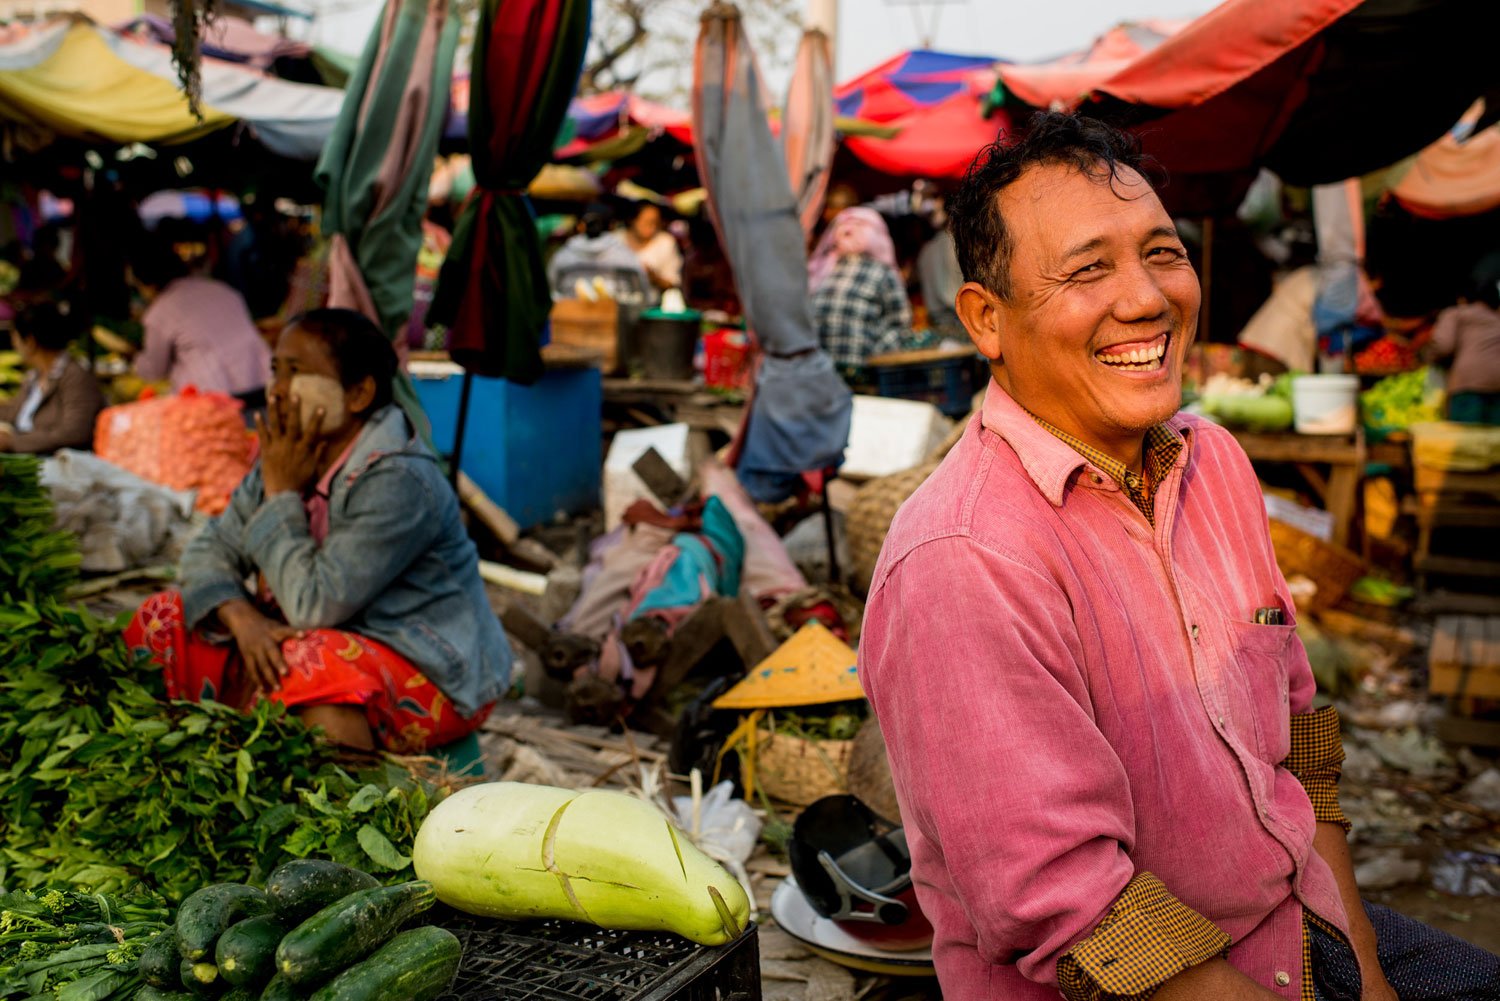
Tip #9: Keep Your Gear and Fiddling With It Minimal
Part of being prepared is making sure you have the right camera equipment with you. Have enough charged batteries and memory cards ready. Have the lens you think you will use attached to your camera.
The less fiddling you do with your camera gear, the better. Pay attention to your subject, not so much to your camera.
If you have a preconceived idea of what you want from your portrait session, you’ll already have a good idea of what lens you’ll use. Think about how much depth of field you want and manage your camera settings ahead of time. Even if they are not exactly right, when you come to take the photos, they’ll only need minor adjustments.

Tip #10: Arrange or Control the Scene to Achieve the Portrait You Want
Does the scene look how you want it to? Can you position your subject to make the most of the location?
Sometimes you’ll need to rearrange furniture or move unattractive items. In your composition, you only want what is interesting and helps to tell the story. Don’t be shy about positioning things the way you want them. Remember to put stuff back the way you found it once you have finished.
Manage this before you position your subject if you can. Sometimes once the person is in position I’ll see things I don’t want to. So I take a little time to remove or shift items so they do not distract.
When you start looking for angles to make your portraits from and what you’ll see through your viewfinder, think about tips 11, 12, and 16 also.
Tip #11: Fill the Frame Only with What is Relevant
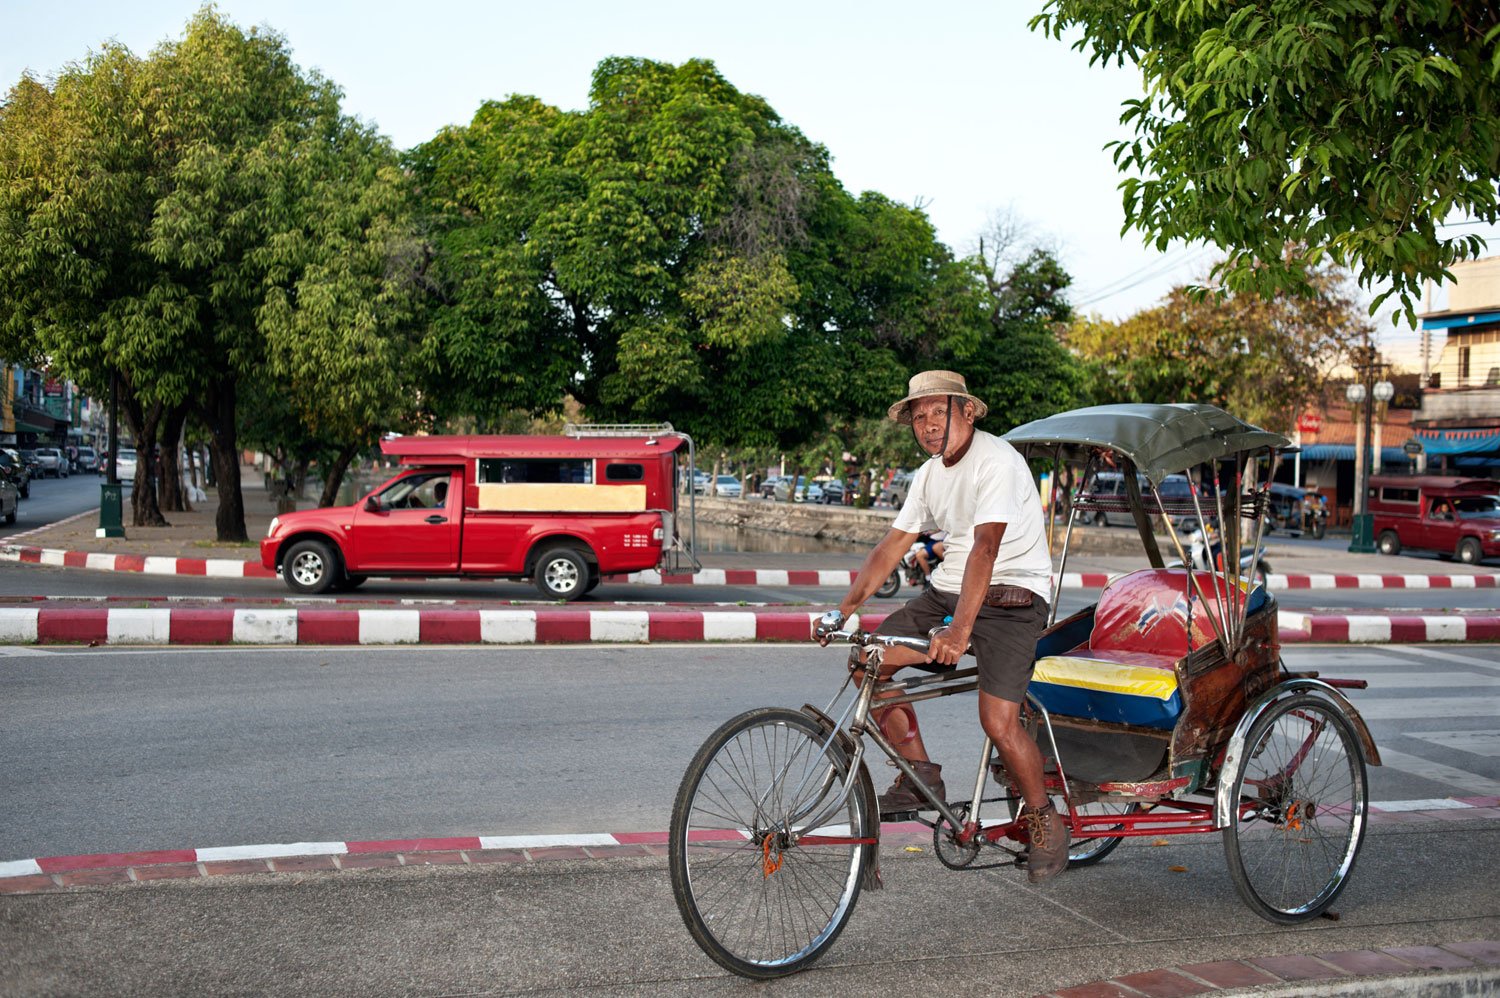
To fill the frame means only including in it what is relevant to the photographs you are creating. This is the most important rule of composition. Sure, make use of other composition rules and techniques, but make sure that you fill the frame.
Anything that does not add meaning or help to tell the story, remove it or minimize its influence in the portraits.
Leave empty space, or negative space, in an environmental portrait composition. This is better than having distracting elements included.
Tip #12: Use the Camera and Lens Combination that Best Suits Your Subject
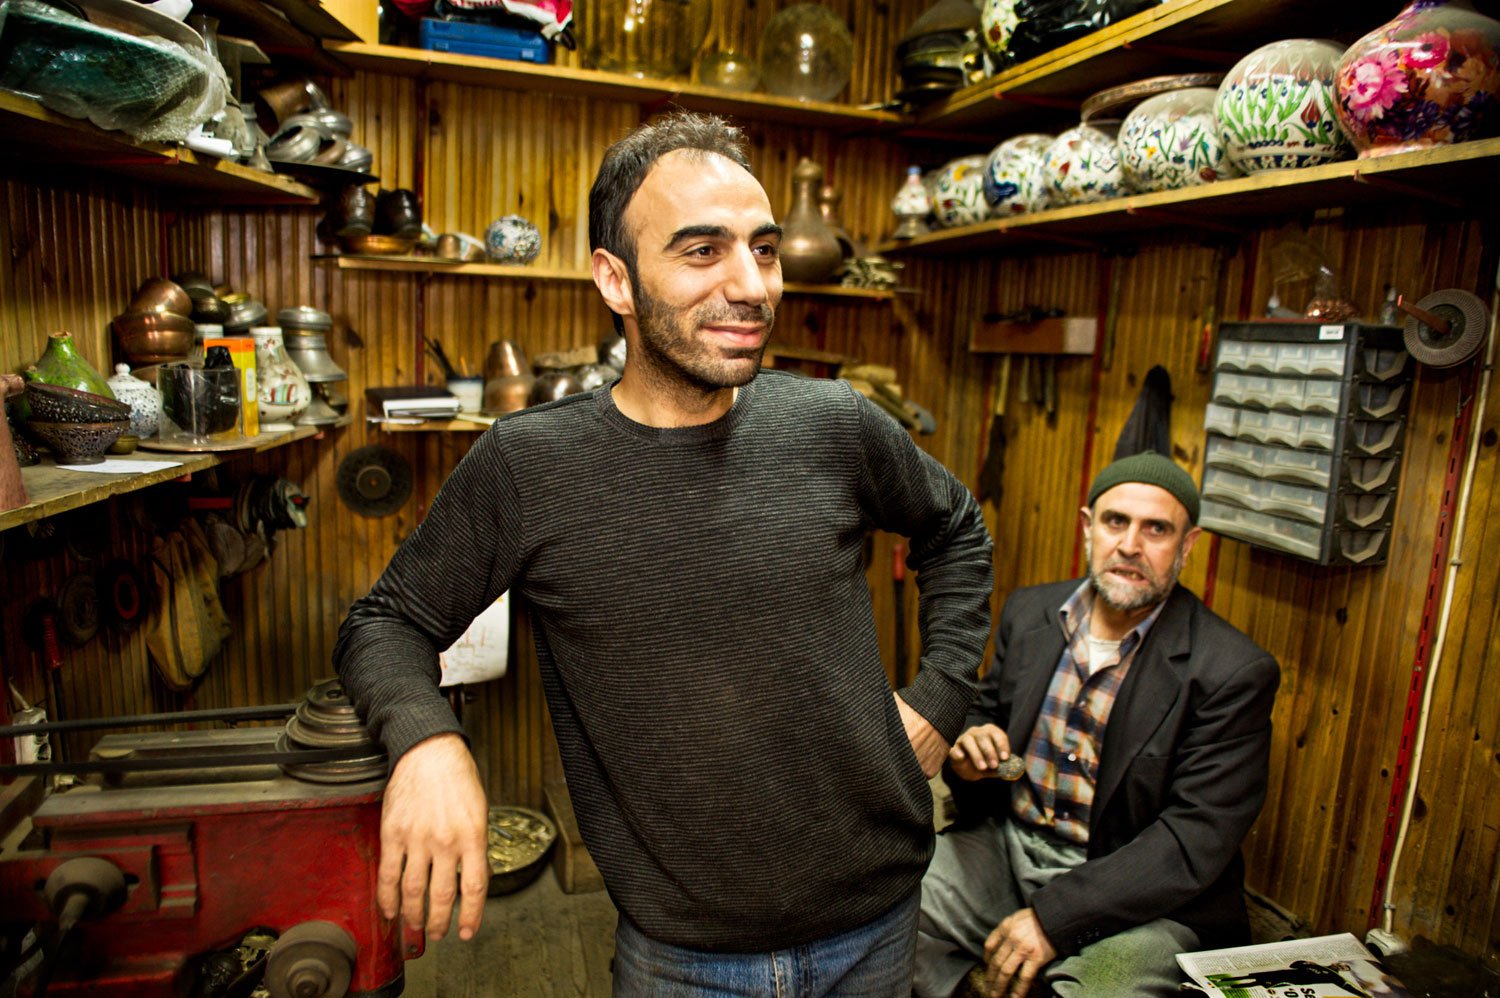
My go-to lens for making environmental portraits is my 35 mm prime. Mounted on my full-frame camera, this lens gives me a field of view of 54.4 degrees. This is slightly wider than our natural vision, not including our peripheral vision.
Capturing portraits with this lens means I can be naturally close to my subject to have a conversation. I can also include enough of the surroundings for context.
With a longer focal length I’d need to be further away to see a reasonable amount of the location. I’d also need to talk louder to communicate with them. A wider lens could place me uncomfortably close and introduce some distortion into the portrait.
My 35 mm lens has a widest aperture of f/1.4. Even though I paid a lot of money for this feature, I am careful not to over use it. Particularly when I am making environmental portraits. I’ll explain more about this in tip #16.
Tip #13: Light Environmental Portraits for Mood
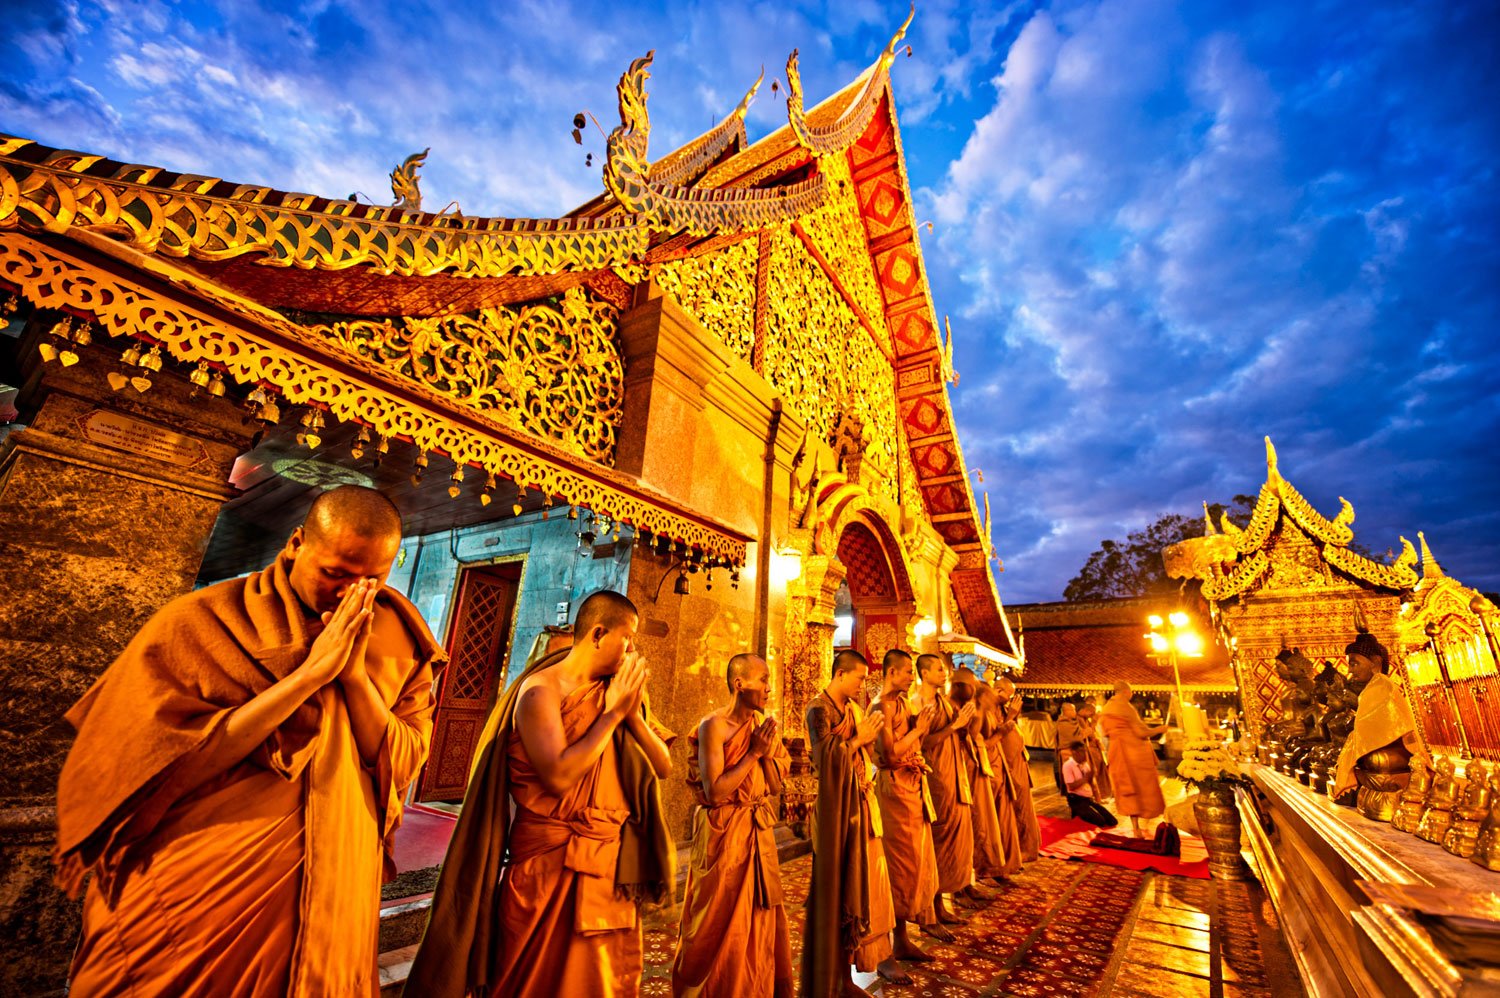
Light is the essence of photography. When you can, light your environmental portrait for mood. Position your subject to make the most of the ambient light. Or locate and diffuse your flash or LEDs. Aim to provide illumination that adds atmosphere to the portrait you are photographing.
Look at the light on your subject and the light that fills the rest of your composition. Sometimes a darker or lighter background will enhance your subject. You don’t always need to have everything evenly lit.
When adding light to an environmental portrait I will measure the ambient light first. Then I’ll set my lights to complement. As often as possible, I use a diffuser of some kind to soften the light on my subject.
Tip #14: Manage Your Exposure for Your
Environmental Portraits
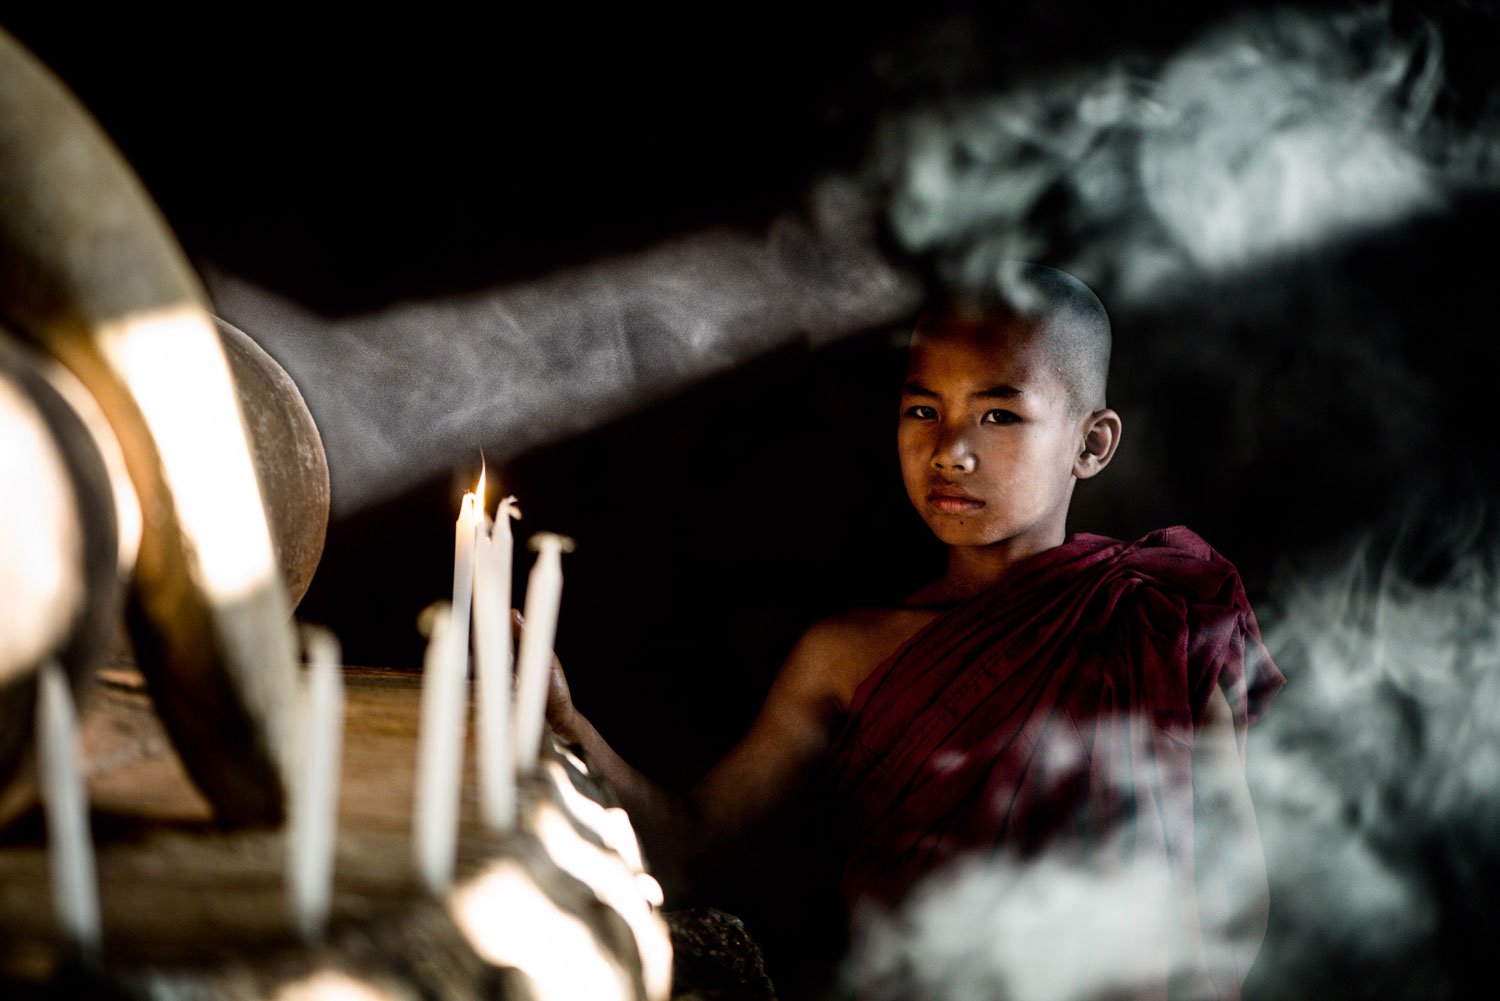
Never let your exposure choices be rigidly controlled by your light meter readings. Your meter is a tool to indicate how much ambient or reflected light illuminates a scene. You can set your exposure how you like.
I prefer to use manual mode so I can control my aperture, shutter speed, and ISO. This allows for the most creative and precise exposures. I take an exposure reading from my subject’s face using spot metering mode. Doing this ensures that the most important part of my portrait is exposed well and looks how I want it to.
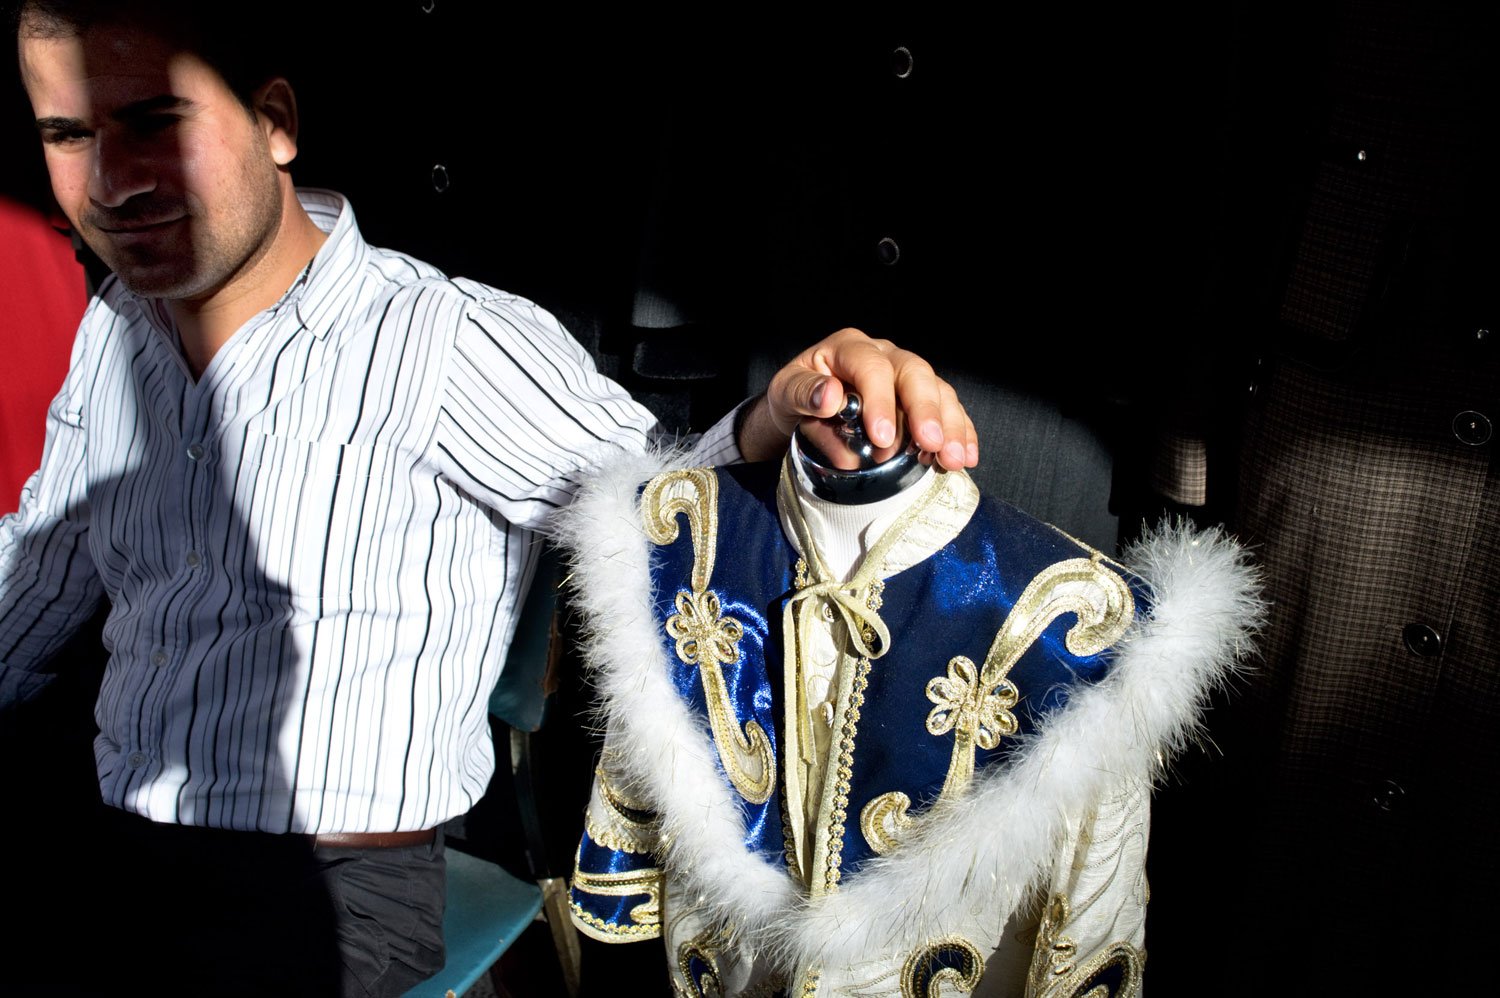
Sometimes you might want to expose for the highlights and let the shadow areas become dark. This can create an interesting emphasis on your subject and affect the mood of the portrait.
Tip #15: Get Your Timing Spot On
As often as I can I’ll get my subjects doing something. I’ll ask an artist, performer, farmer, or anyone to engage in their normal activities. This produces a natural portrait.
Timing is vital in these circumstances. You want to make sure to watch what the person is doing. Then capture your photos when the action is at an interesting point. Often people have a workflow that includes some repetition. Look for the peak moments and capture this activity.
I’ll not only capture activity whenever possible, but I’ll also pose the person for a more controlled portrait. This provides a backup in case there are no good images from the series of action photos.

Tip #16: Control the Depth of Field in You
Environmental Portraits
Controlling the depth of field in an environmental portrait requires careful attention. You won’t usually want a silky bokeh background because it will not add any supporting information about the subject. Too much detail in sharp focus is also not so desirable.
Aim to create a balance so what is relevant is recognizable but not completely sharp. This keeps viewers’ attention on your subject while providing additional information about them.
You can learn more about how to control depth of field in this article and in this video.
Tip #17: Edit Your Environmental Portraits Well
Post-processing is an integral part of digital photography. For the best results, you must edit your photographs.
Editing environmental portraits usually consists of enhancing your main subject. This can be a matter of simply balancing contrast and color. It may also involve some cloning out of distracting elements. I’ll often add a vignette manually to help draw attention to my subject.
My aim in post-processing is to keep a photo looking as natural as possible. Too much processing can make an environmental portrait look fake.
Conclusion on How To Take Better Environmental Portraits
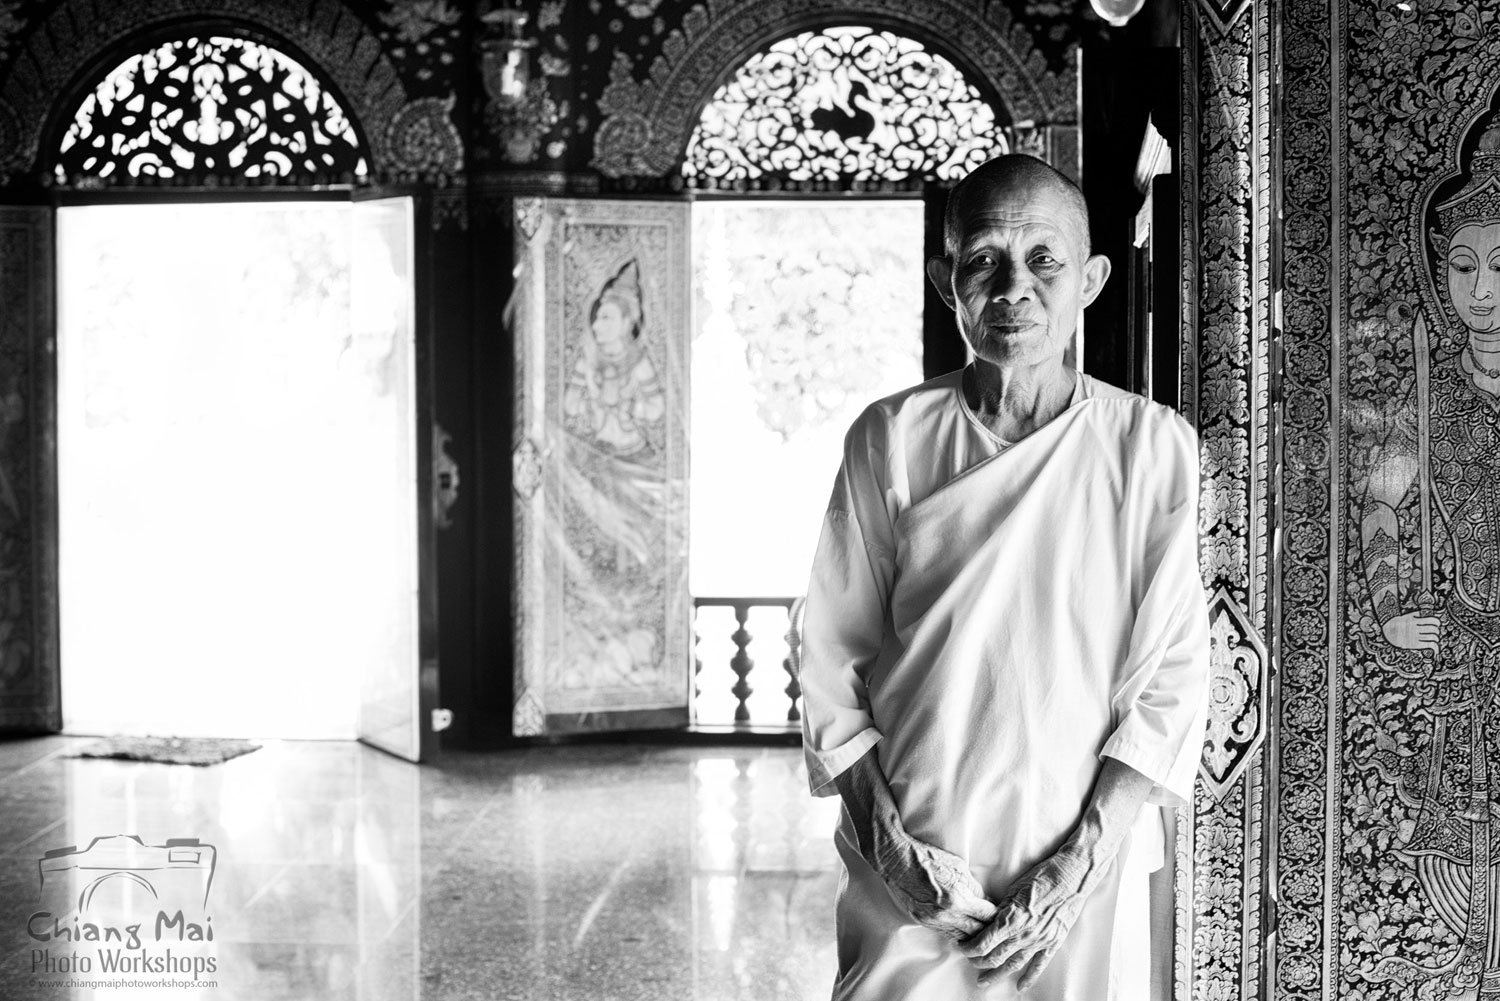
Many photographers feel uncomfortable when they first start photographing people. I did. I still do sometimes, but not the same as I used to. The more you practice engaging with people, the better portraits you will make.
Be confident. Know your camera well. Have a clear idea of what you want, but don’t forget to go with the flow.
Once you have made a few portraits, come back to this list of tips and use them to help analyze your pictures. What areas have you excelled in? How could you improve the next portraits you make? Then go back out and make some more wonderful portraits.
If you’ve enjoyed this article you may also be interested in downloading the pdf version. It includes practical exercises for each of the 17 tips and more example photos. You can find it to download here:
Environmental Portraits PDF Download
Further Reading
If you’ve enjoyed reading this article you will also enjoy “Blurred Background Portraits”and “A Guide For Shy Photographers”.
